 Skip to content
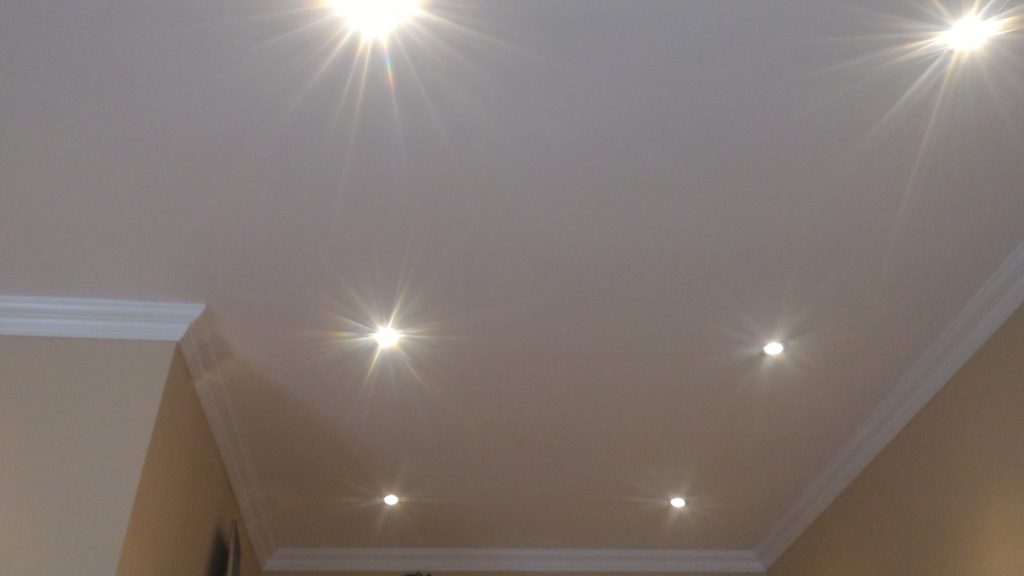
Table of Contents
ToggleHow To Upgrade Your Home With Crown Moulding?
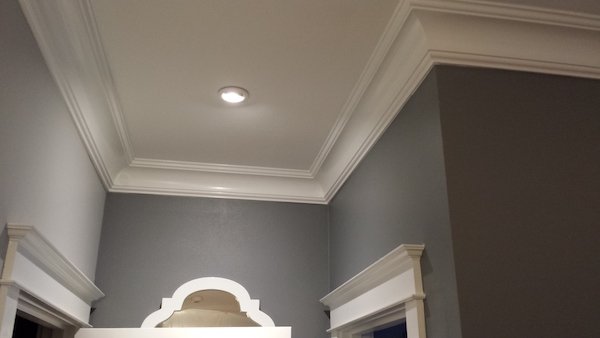
Crown Moulding
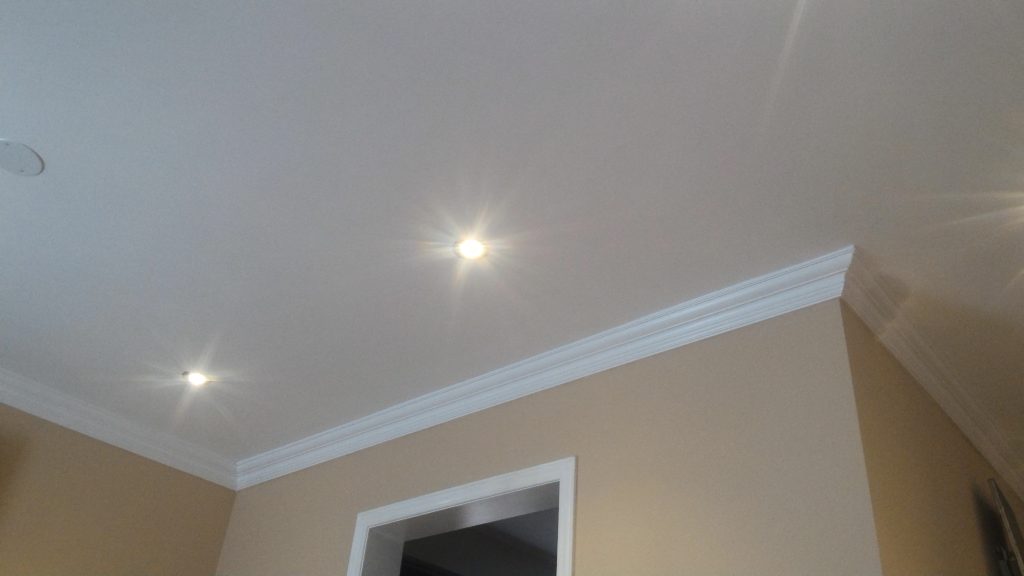
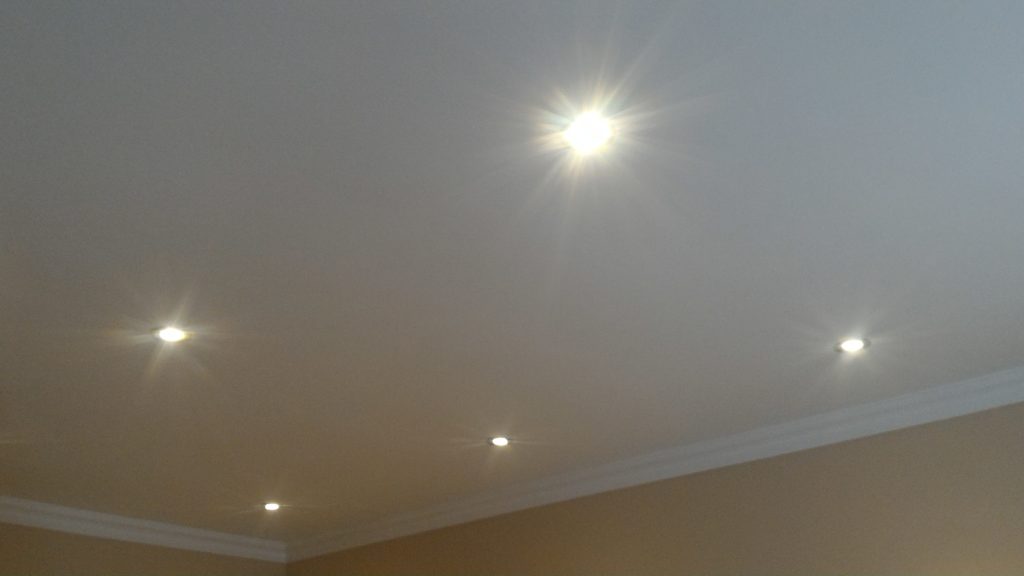
Here is the deal. Shortly after removing your popcorn ceiling and adding pot lights you can begin to upgrade your space by adding crown moulding. This is another excellent upgrade for a house. Surprisingly, it does not cost as much to do it. We are applying this home renovation for our front foyer, powder room, the hallway and the living room. These are the same locations we removed the popcorn ceiling and added some pot lights. DIY crown moulding in your home.
Check out Removing Your Popcorn Ceiling to give your ceiling a smooth, flat modern look. Although the cost of the crown molding is not expensive per linear foot, we are going with a slightly more intricate profile. In other words, the one we chose is not the lowest price. You can choose something less if you like. However, considering the cost savings for the labour on this job, going slightly higher for the material is not going to put a dent on our budget. See how your budget suits you and apply.
How Much Does Crown Moulding Cost?
Saving Money
The estimate for this project was $500.00. However, for the crown moulding, we purchased 15 full lengths and each one is 14 linear feet long. Furthermore, each piece costs $25.00. It is a good idea to buy more than you will apply, just to be safe. In the meantime any extra pieces longer than 4ft you have remaining can be refunded. Therefore in total, the cost of this project comes to $375.00, tax included, with a little bit left over. $125.00 savings on the estimate.
What You Need For DIY Crown Moulding
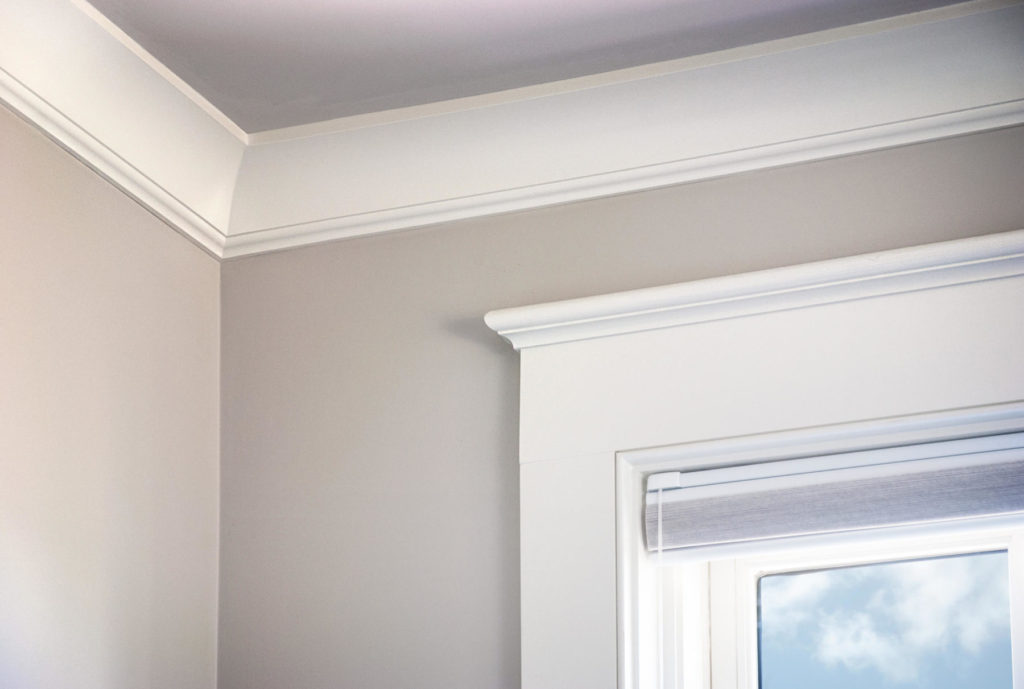
Crown Moulding Corners
Use a mitre saw to cut the trims to the correct angle, corresponding to your ceiling corner walls. As the sticks are very long, hold on to the other end of each stick while making cuts. In order to get it correct, use an angle finder to get the exact angle of the inside and outside corners.
Seeing that not all homes have perfect 90 degree corners inside or outside. One part of our house on the main floor has a unique angle. As a result the degree of angle, it is different from the rest of the corners.

How To Install DIY Crown Moulding
Equally important, use a pneumatic nailer and compressor to attach the trim to the wall. While standing on two ladders we put up the crown moulding. One ladder for me to hold the right angle. The second ladder for my partner to nail in the crown molding in place.
In order to set up the position of sticks properly it needs to be slightly slanted while still touching the top of the ceiling and the wall. This is based on trial and error. There is no degree or angle I can offer which will match your calculation for your home.
Before you are 100% sure to nail it in, check that the position is aligned properly. Otherwise, you will need to remove the nails and start again. We had to do that 3 times. It happens. Fortunately we did figure it out. This is a two person job. One person can do it, I am sure. However, with the two of us working together, it is lot faster.

In general, this job takes one weekend to complete. This includes filling the nail holes and painting and caulking. However, they are full days. Otherwise it is two weekends, about 4-5 hours each day. The part that takes a long time is figuring out the angles. If the angles are not correct, you can end up going back over again to get it right.
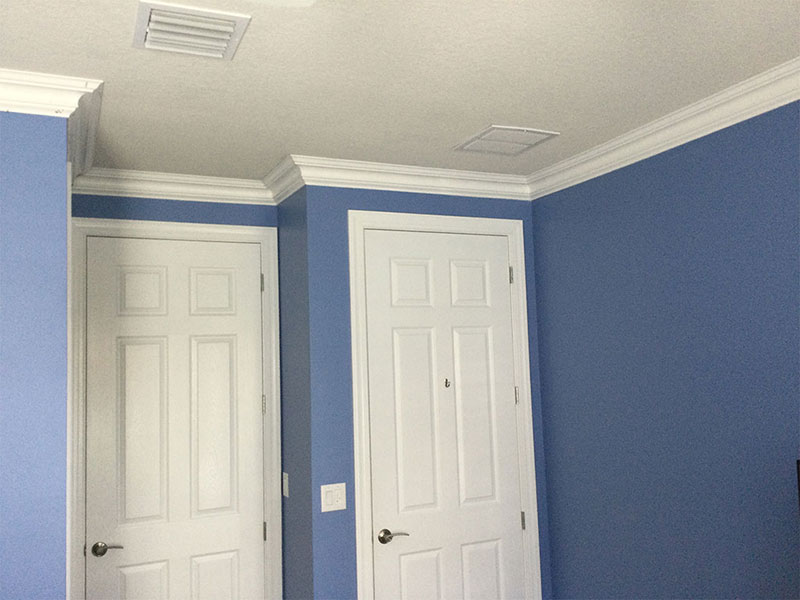
The ceiling and new crown molding uplifts a home exponentially. Normally a job like this costs a home owner $2000.00, maybe more, depending on how much space you need to fill up. The total square feet with crown moulding is approximately 500 sq. ft. Again, depending on the style of moulding, the price difference ranges per stick. You are looking at a savings around $1600.00/CDN on this home renovation. This is not including the value raised for your home.
To upgrade your home with crown moulding, you create a nicer space. The appearance of your home us uplifted and looks newer. The total amount we spent on removing the popcorn ceiling, adding in pot lights and finishing it with crown moulding came to around $655.00, for all THREE projects! No one will ever suspect you spent so little doing these upgrades.
Expect to spend a few thousand dollars on tools alone to do these projects. We know, tools and materials are expensive. All the tools used for this project have been passed on to us by family.
By saving these tools for us to use, money spent over 20 years ago is still being used today. Over time you get back what you paid for. It does not matter the age of the item, it is in pristine condition. The value of taking care of what you have leaves long lasting impressions.
This DIY crown moulding project was well within our budget and helped raise the value of our home.
Leave a comment and tell me what you think.
Check out more related topics:
 Green Thumb
I am the founder of Everything Handmade. I am helping others become self-sufficient using their own hands. This website is sharing DIY home renovations, gardening vegetables in the city, cooking our own meals and building a solid foundation in times of economic instability.
Please purchase an Authentic Homemade Vegetarian Cookbook. My book is to help inspire readers cook delicious vegetarian meals at a low cost. The second book is called The Complete Meatless Lifestyle Vegetarian Cookbook Volume 2, available on Amazon.
Thank you for your support.
