Table of Contents
ToggleCountertop Refinishing Kit
When I planned on changing our countertops, everything shutdown back in 2020. Instead of waiting around, knowing that the situation was indefinite, I purchased a DIY countertop refinishing kit. The kit is a temporary upgrade before upgrading to nicer countertops in the future.
With money trickling in slowly, keeping our finances in check is the most important task at hand. Therefore we have not done many renovations this past year. Our kitchen is partially done with only one job completed, refinish kitchen cabinets.
Time For A Change
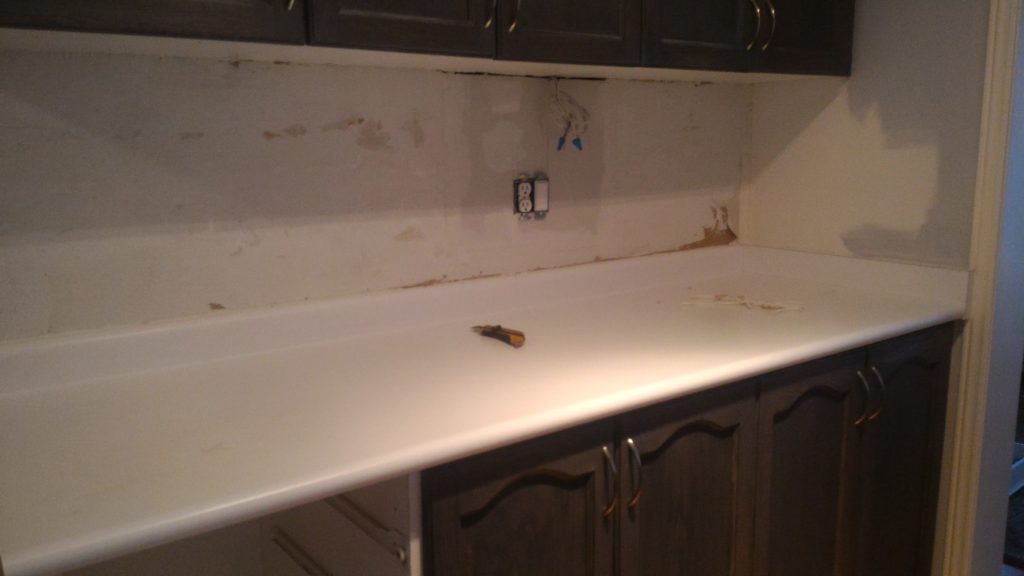
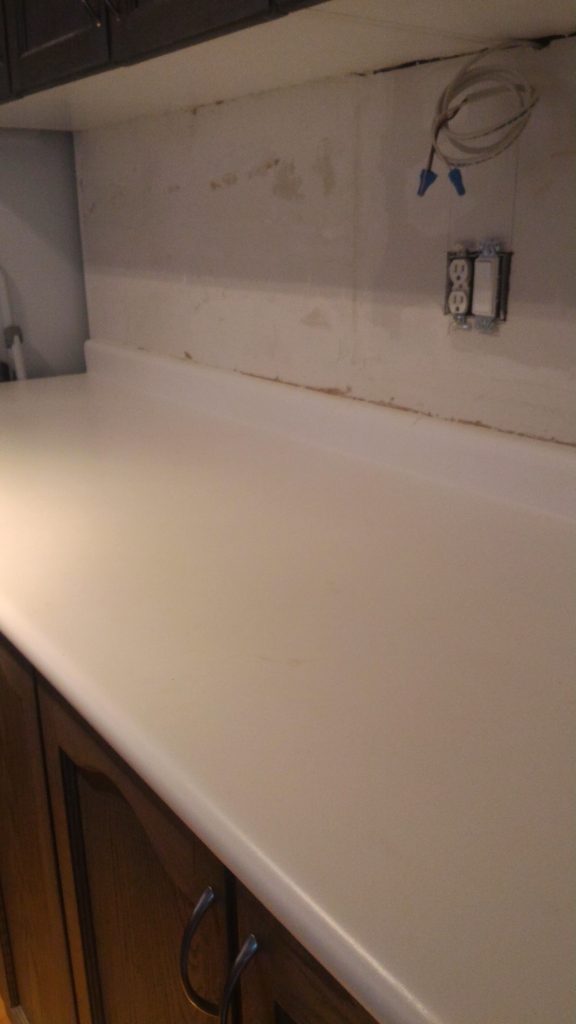
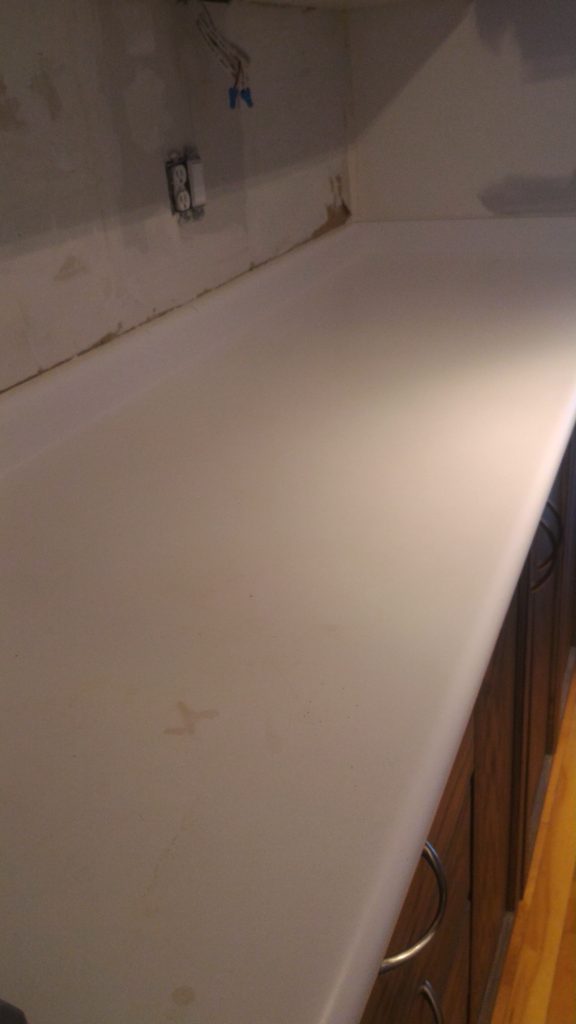
Unfortunately, the countertops I currently have look worn out and with scratches all over them. They are old with noticeable wear on them. In order to replace our counter tops, the cost is $1500-$3000.00 plus tax out of pocket.
As a result I am not interested to make this expense just yet as it is a luxury upgrade. Even though brand new granite counters look beautiful, it is not a smart financial decision at this point. Additionally, it is not as if the cupboards are brand new. They are just upgraded, by me. This is why I wanted another option.
Is A DIY Countertop Refinishing Kit Worth It?
Low Cost High Value Upgrade
When I lived in a condo and was ready to sell it, it was obvious that our kitchen counter tops looked old and worn out. I purchased a DIY countertop refinishing kit to change it up. The results for the changes made were amazing. It surprisingly showed how a small change can make such a difference in your space.
In the hope that we can make this upgrade without it looking like a lipstick job, I figured we could try the same method. As a result we went along with using the same kit in our house. Fortunately, the cost is only $100 plus tax. Additionally our labour, where the installers will normally have that incorporated in their estimate.
Saving Money
This is a $1400.00 plus tax savings. Therefore it is a better option to try out. The box says it will take one weekend to finish. However, factoring in that the surface is larger than what we previously had, you can expect it to take a little longer, if you have the same. Possibly an extra day.
Working on the DIY countertop refinishing kit project requires patience. Often times we rush into it and miss steps along the way. For instance, you need to give it time for the paint to dry in each of the steps to make the upgrade. Although doing this is only my second time, the process is somewhat lengthy and your hands get tired overtime.
Designs And Patterns
Making a design on the surface of the countertop is an art. Create a pattern with the paint you are working with. At first it is hard to tell if you are doing it correctly. Afterwards you figure out how you want it look. Depending on your kitchen colours, whether you wish to use a lighter colour or a darker colour, you decide. Ultimately once you get a rhythm going, you end up with a good outcome.
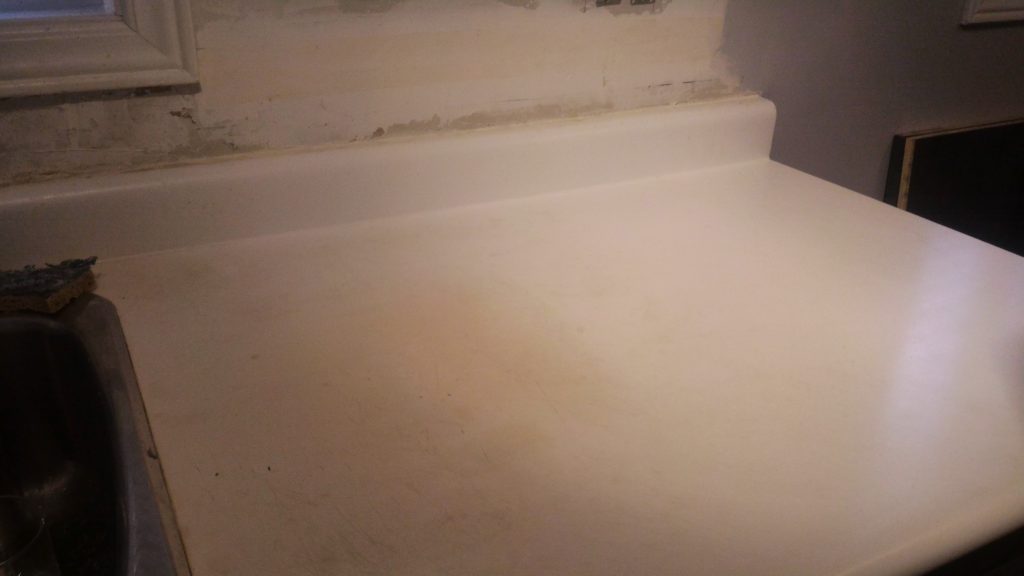
The first step is to remove everything from your counters. Clean the surfaces and wash them properly and let it dry. Remove your kitchen sink as well. This is so that there is no cut line where the sink meets the counter.
Now we can begin with the roughing process. For sanding, start with 120 grit sand paper. For a more aggressive scrub against the surface, depending on the finish of it, go down to a 100 grit. Sand the top coating throughly so that the gloss is no longer showing. Wipe and clean the counters off.
There are three layers to applying this product. The first part is the base coat. This is the black colour paint. The second coat is grey and that is the medium coat. Whereas, the last part is white and this is the lightest layer before putting on the sealer. Apply it based on your preference. Other tools that come with the kit are a roller as well as a sponge which you cut to your choice. You use the sponge to dab paint to the surface and create you pattern.
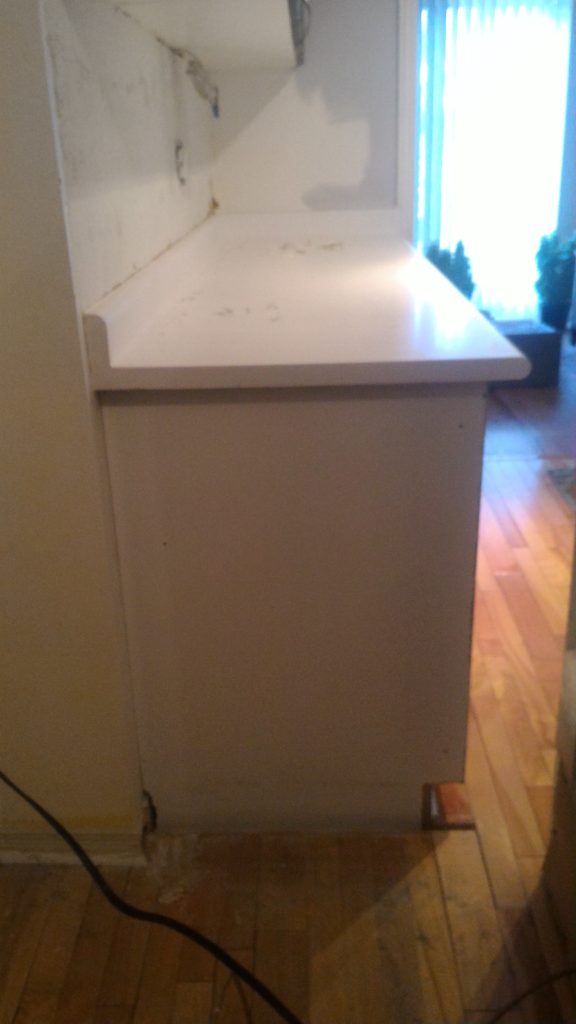
Since we plan on adding in a new backsplash, the old tiles are taken off as you can see in these pictures. Changing your backsplash is another great cost effective upgrade (coming soon). If you plan on making these adjustments, make sure to remove the tiles off the wall first before you work on upgrading your counters. This is to help prevent any damage from the wall or the counters when removing the tiles.
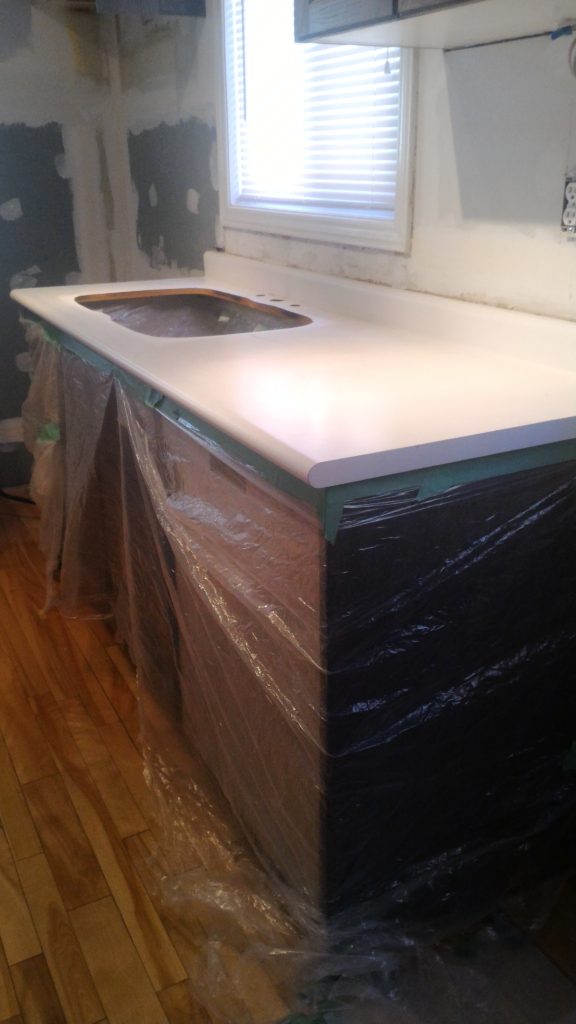
The end result is 90% good for my personal standards. Everything was coming along nicely. However, towards the end, at the time I had to apply the protectant coat, my partner insisted to use a brush. The DIY countertop refinishing kit comes with a roller.
Ultimately, the brush will leave streak marks all over the counters. If you end up making this mistake, sand off the protectant coat and retry it again with the roller. Please do not use a brush to apply the protectant. The roller does the job just fine. After making the correction, it looks slightly better. However, the streaks from the brush still show slightly.
Summary – DIY Countertop Refinishing Kit
All things considered, it is still a great upgrade to work on, especially if the counters you have are old and worn out. If you want to save approximately $1400.00 overall and do not make the same mistake we made, then you will have a better result. Additionally your counters will look brand new again.
Good luck on your new project.
Leave a comment
Thank you for giving readers an option for countertip refinishing. We appreciate the information you provided!
Thank you for your comment Evan. I appreciate your feedback and am happy to help.