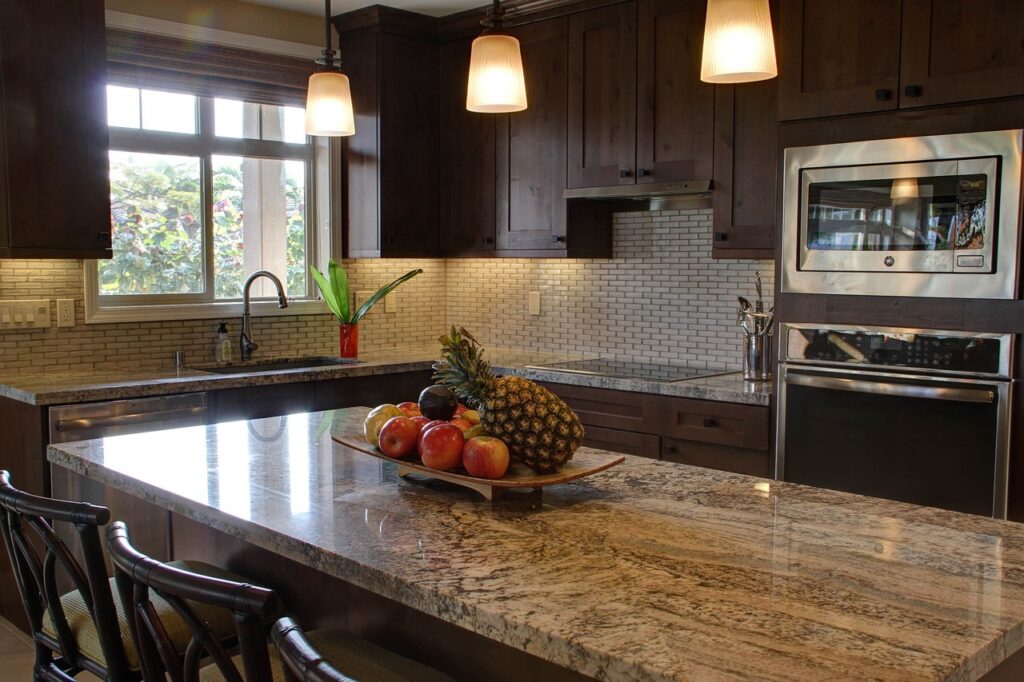
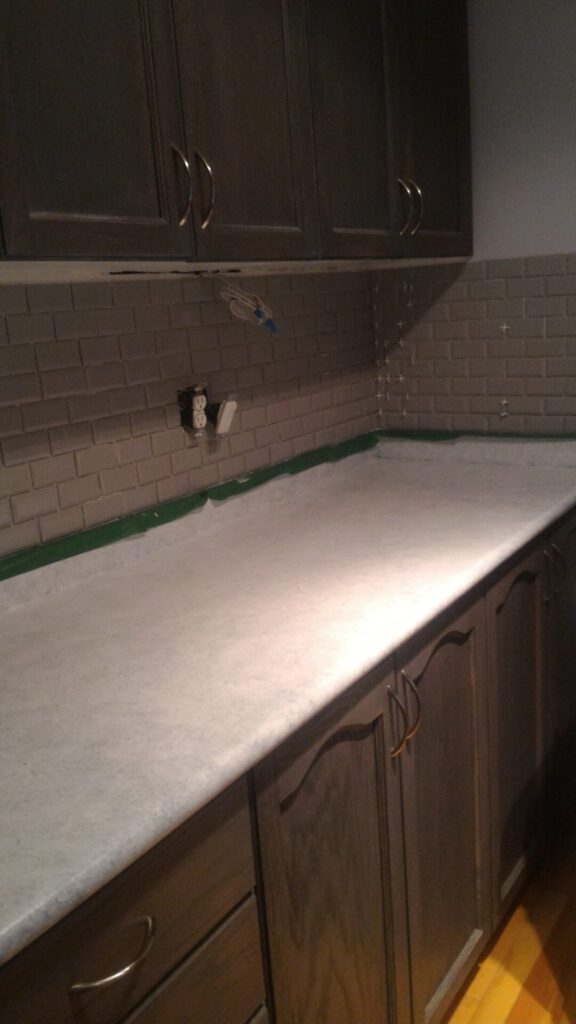
Backsplash, Lighting and Valence Upgrades
For the lighting part of this project, I assisted my husband in adding some lights underneath our cabinets. It is great to add lights underneath the cupboards, especially when you are chopping vegetables. The cost of the lights were $100.00 for the whole thing. This all depends on the style you choose as well as the length. We went for LED strip lights which is something standard and middle of the road as far as price.
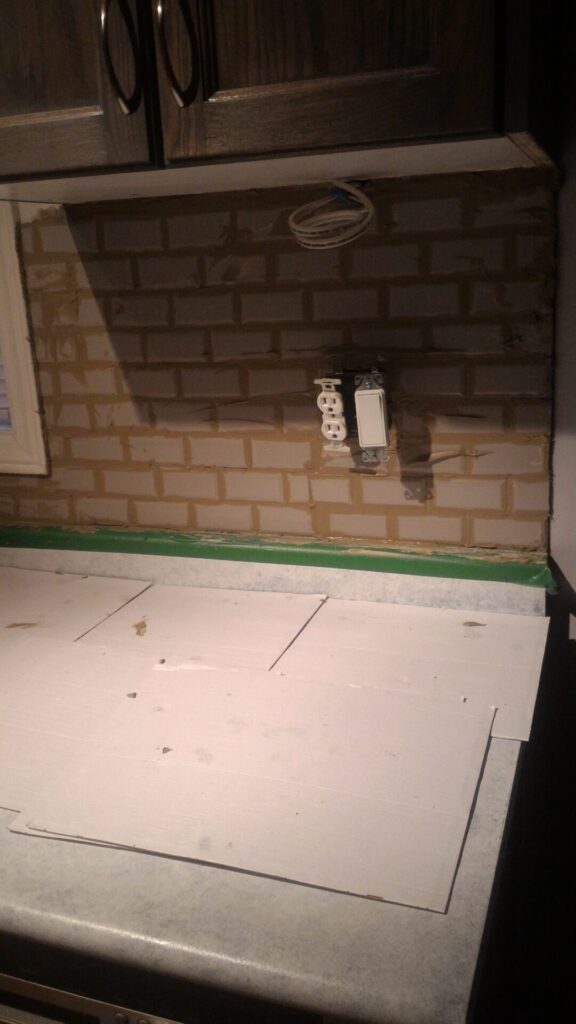
Other options include puck lights and fluorescent strips. For an electrician to come in and add lights, you are looking at a service between $150.00-$250.00 depending on if you want a light switch on your backspace for the under cabinet lighting. If you want this option, have the electrical work done before you work on upgrading your backsplash. This is something a skilled professional or someone experienced in this field of work is qualified for.
Backsplash, Lighting and Valence Upgrades
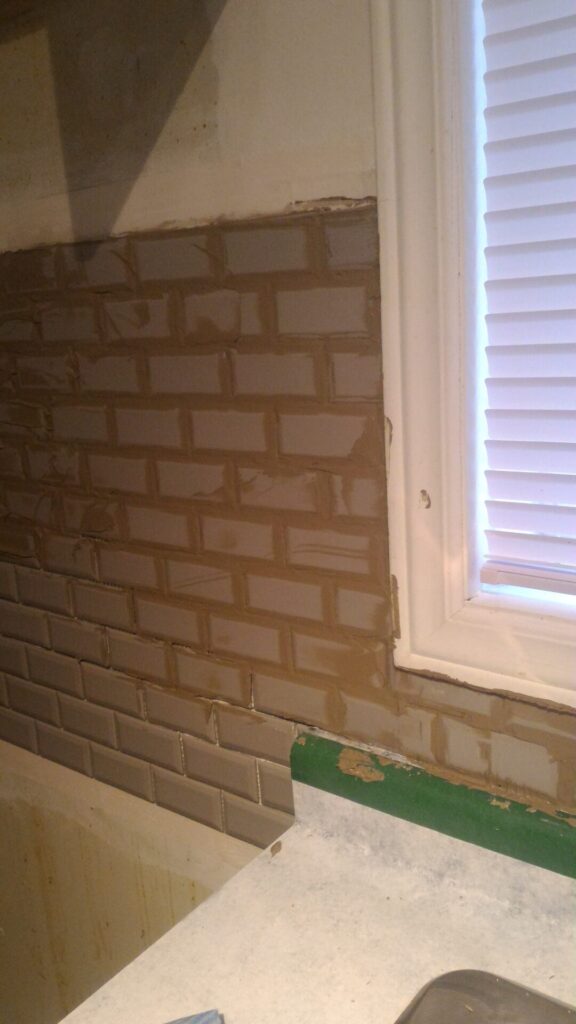
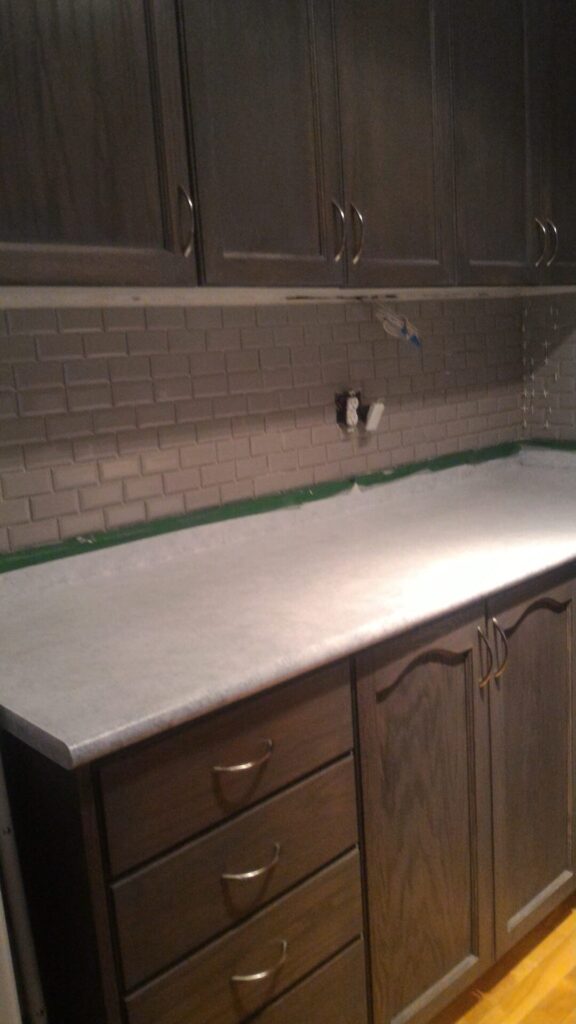
The last part of the kitchen is adding on a valence around the lights. Traditionally, 2-1/4” crown moulding is used for this but a more contemporary look is to go with a simple flat board to give the cupboards a skirt. This is what we decided. We had to cut 3” strips of oak veneer plywood. If you have MDF cupboards you need to use the appropriate material to match. We measured and cut the 3” strips to length using a mitre saw to cut the pieces. I stained and varnished the valence to match the cupboards.
To add the valence underneath, I held up one end of the strip while my partner drilled in the piece on his end with a small angle bracket. By adding in a valence, not only does it look a little nicer but it also adds an accent to the lights, as well as to hide them from sticking out.
This whole project for us came to approximately $400.00 (backsplash, lighting and valence).
We paid $100.00 for the lights and $230 for the tiles. As well as the grout and mastic glue is about $50.00. We already have the v-notched trowel, the sponge and the electrician. 😉
However, for yourselves the price may vary. My budget was within the $500.00 range I was aiming for. Fortunately the extra money can now be used for another future home decor project.
We still have a few more things to take care of in our kitchen. However, for now, this change is a significant upgrade for us. Even though we have spent less than $1000.00 on the changes in the kitchen so far, you can see what a drastic difference this has made in this part of our home.
![]() List and Cost for Backsplash, Lighting and Valence Upgrades
List and Cost for Backsplash, Lighting and Valence Upgrades
Backsplash-$230.00 for 58 sq. Feet.
Mastic Glue $30.00
V-Notched Trowel-$20.00
Grout-$20.00
Lights-$100.00
Electrician-$150.00 (Not included in our cost)
Total=$550.00