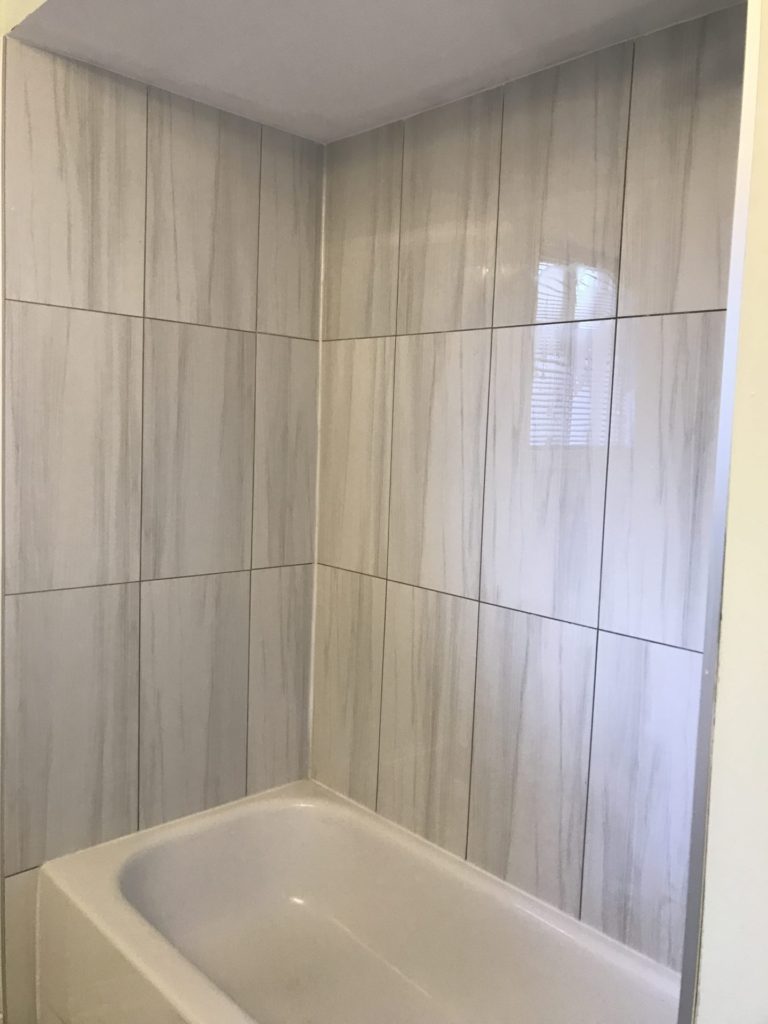
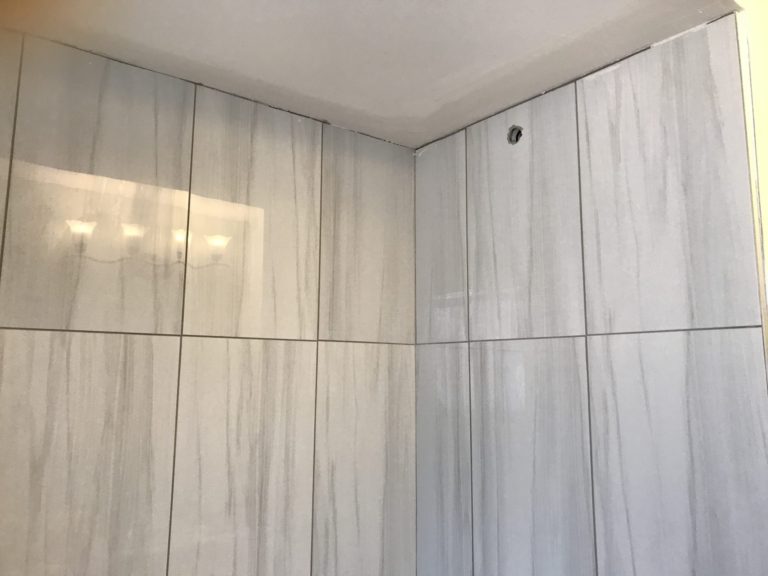
As with any upgrades in our home, budgeting is the number one priority to determine whether it is worth it to change or wait. This shower renovation of upgrading to large format porcelain tile is contemporary style. The project is worth DIY.

What You Need For This Upgrade
Tools:
3lb sledgehammer, utility knife, prybar, claw hammer, wet tile saw, angle grinder with ceramic blade, measuring tape, screwdrivers, hex allen keys , broom & dustpan, square notch trowel ½” x ½”, grout float, bucket, sponge, high torque corded drill and mixing paddle, level, plaster knives/trowels, cordless drill and an extension cord.
Material:
DensShield gypsum board or cement board, drywall screws #6 x 1-1/4”, mesh & paper tape, plaster, tiles, tile leveling clips, sanded grout, tile mortar, garbage bags and tile edge trim.
14-Step Guide To Update Your Shower
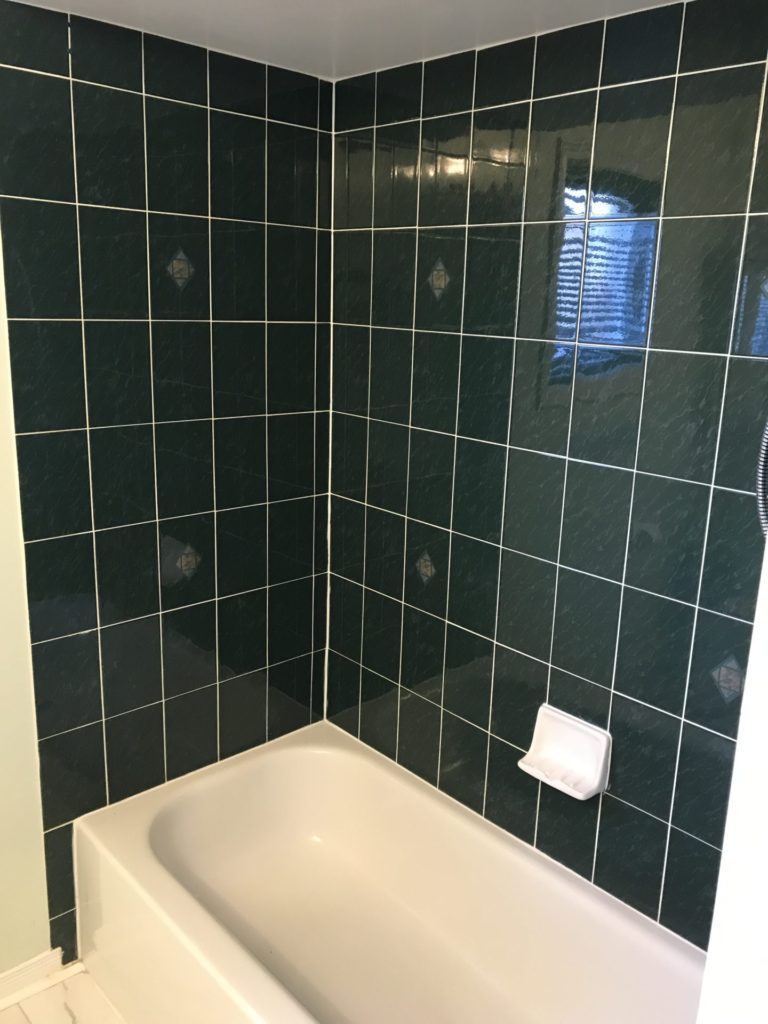
1. Make sure that everything is removed from the washroom. This includes the floor mats, towels and items around the washroom sink and counter. As well as the garbage can and any items around the toilet.
2. Remove the shower faucet handle/cover, shower head and tub spout. This is where you need the hex allen keys.
3. Cut the silicone with a sharp utility knife around the bathtub where the tiles meet the tub and anywhere there is a seam, such as the inside corners. Cut the caulking where the tiles meet the ceiling as well. Also make a deep cut in the drywall vertically where the tiles finish at the edge of the bathtub.

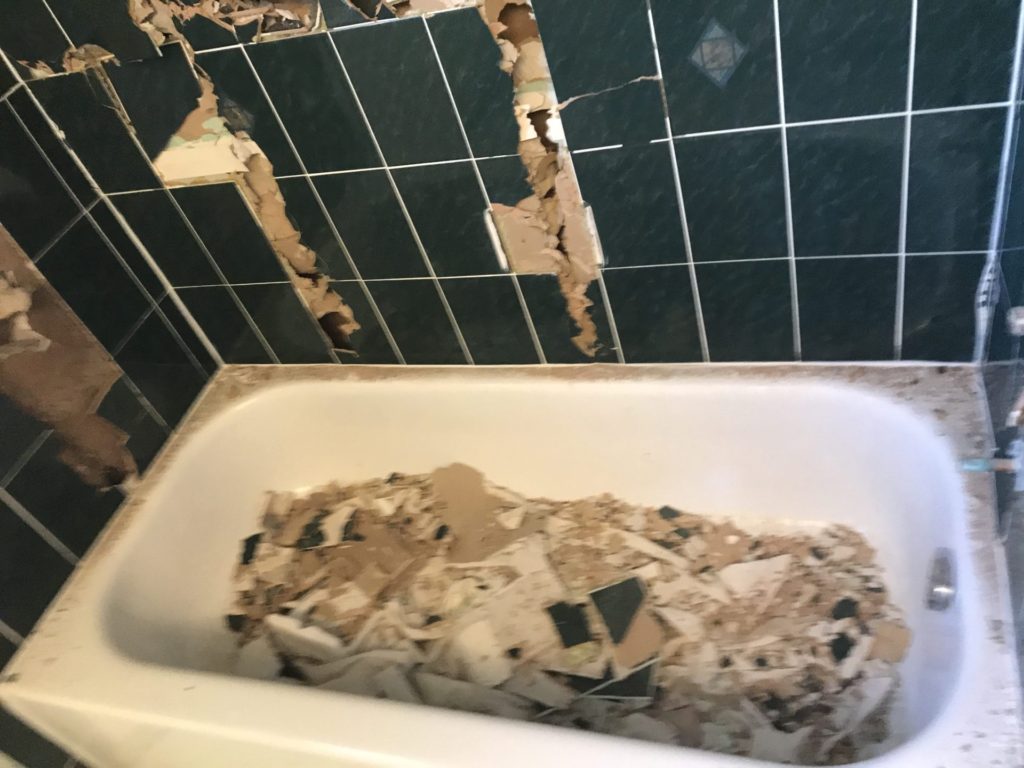
4. Plug the bathtub drain so that the rubble from the demolition does not clog your drain.
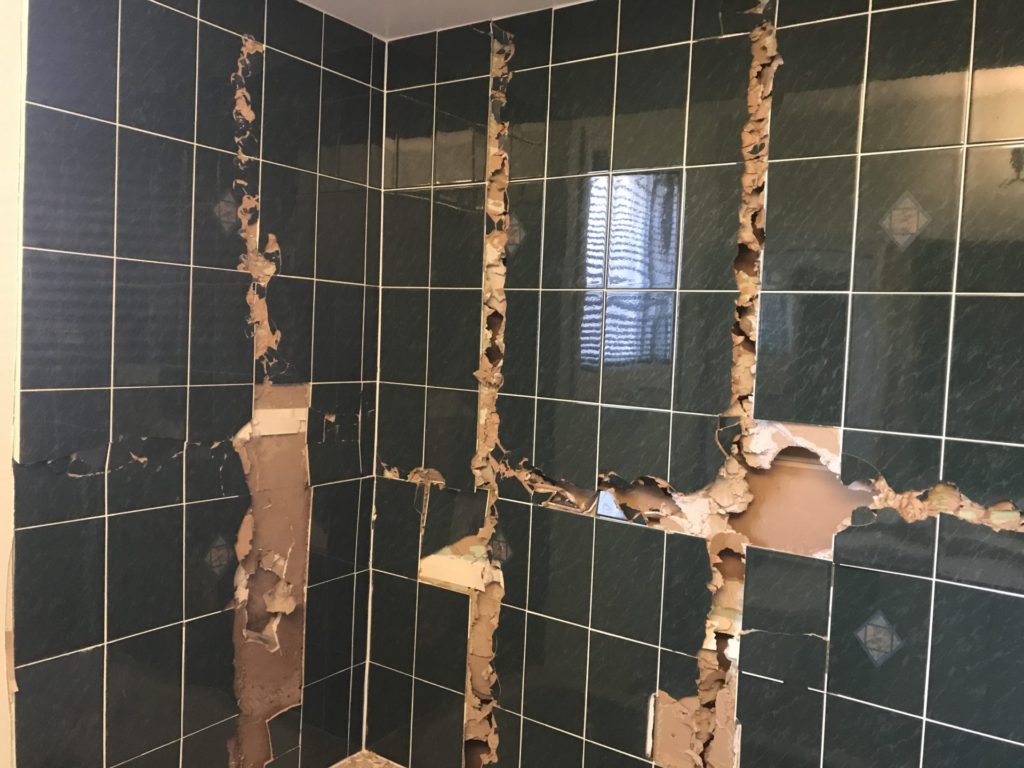
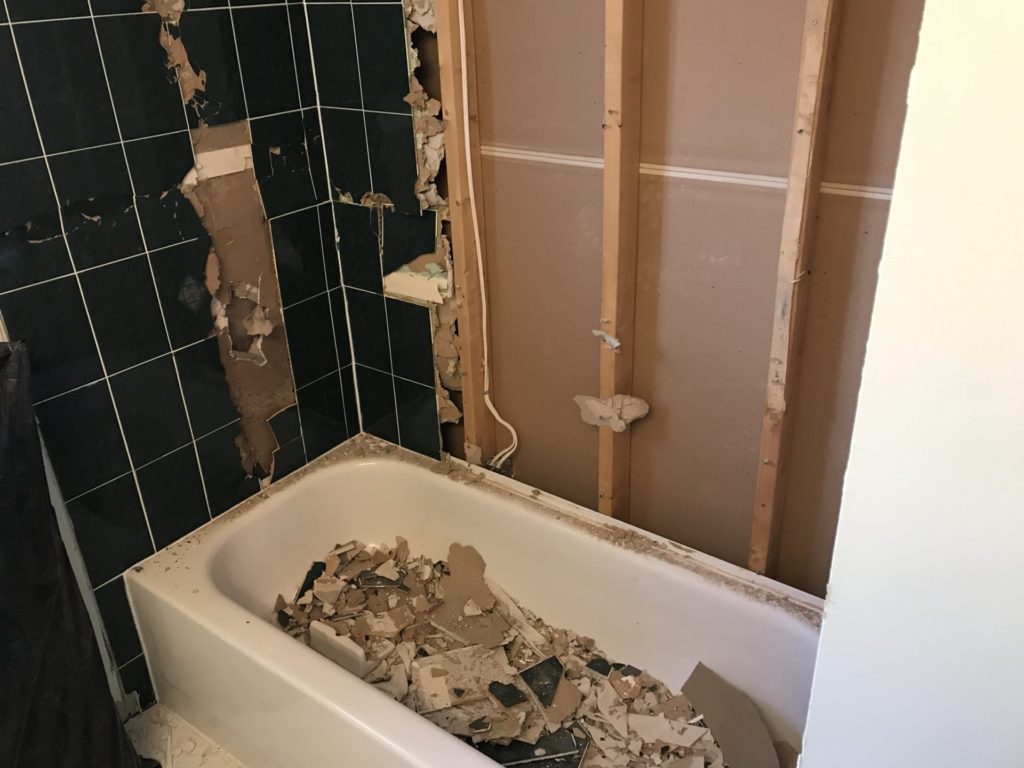
5. Divide the area you are about to demo into quarters. With the 3lb sledgehammer start to work an opening in the tile/wallboard as seen in the pictures. The intent is to demo only the tile and wallboard it is attached to while keeping everything else intact. Once you have your sections of wall divided you can pull the tiles off together with the wallboard in tidy sections to dispose of.
6. Once you have all the sections of tile/wallboard removed you can clean up the rubble and assess the condition of your walls. If everything looks dry that is a good sign. If you have water damage and potentially mold issues then that needs to be addressed before anything else is done.

Specifically, the mold needs to be neutralized and removed with bleach. Depending on the extent of any potential water damage there may be studs that need to be replaced. This, however, is beyond the scope of this DIY blog. This is also the time you would pull out and replace your bathtub, which is what we did for the EnSuite renovation.
7. The next step is to make sure there are no nails or screws remaining in the studs of the shower walls. If your shower wall is also an exterior wall of your house make sure you re-instate any vapour barrier you might have damaged during the demo. This is typically taken care of with some Tuck Tape and some 6mm vapour barrier.

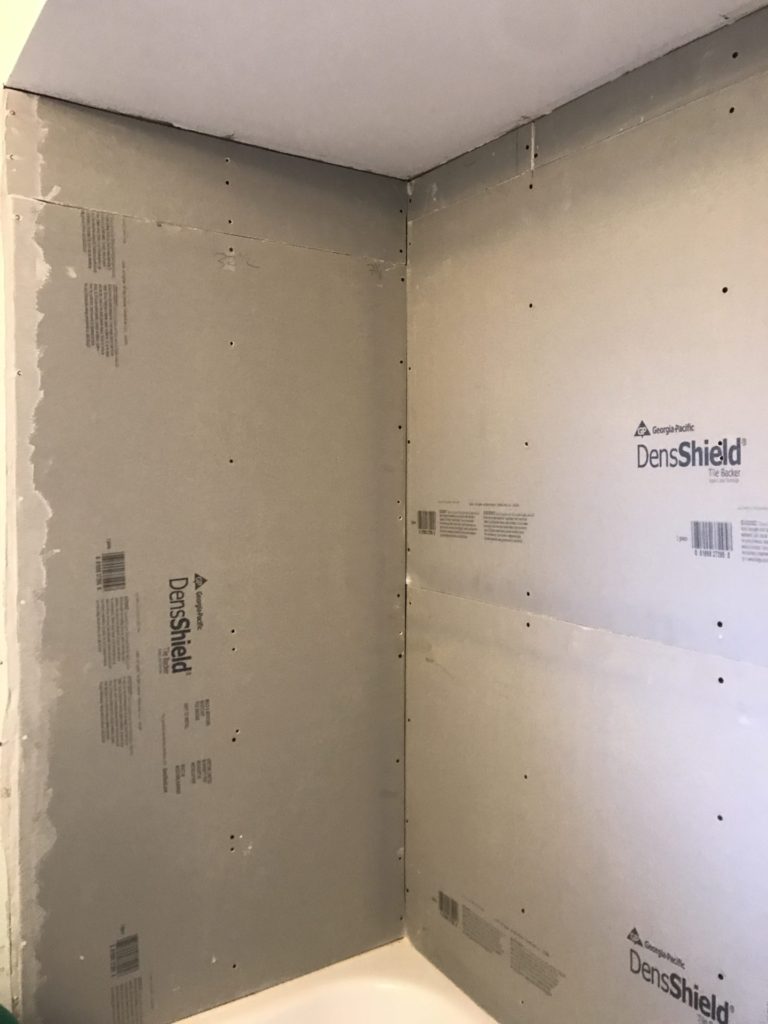
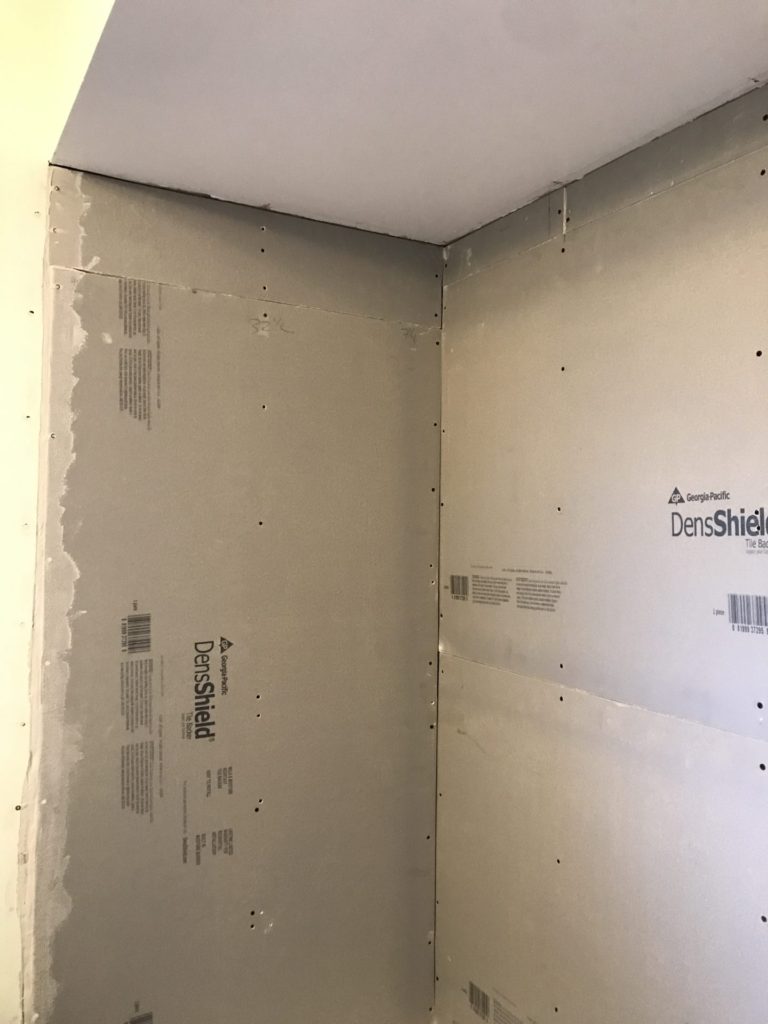
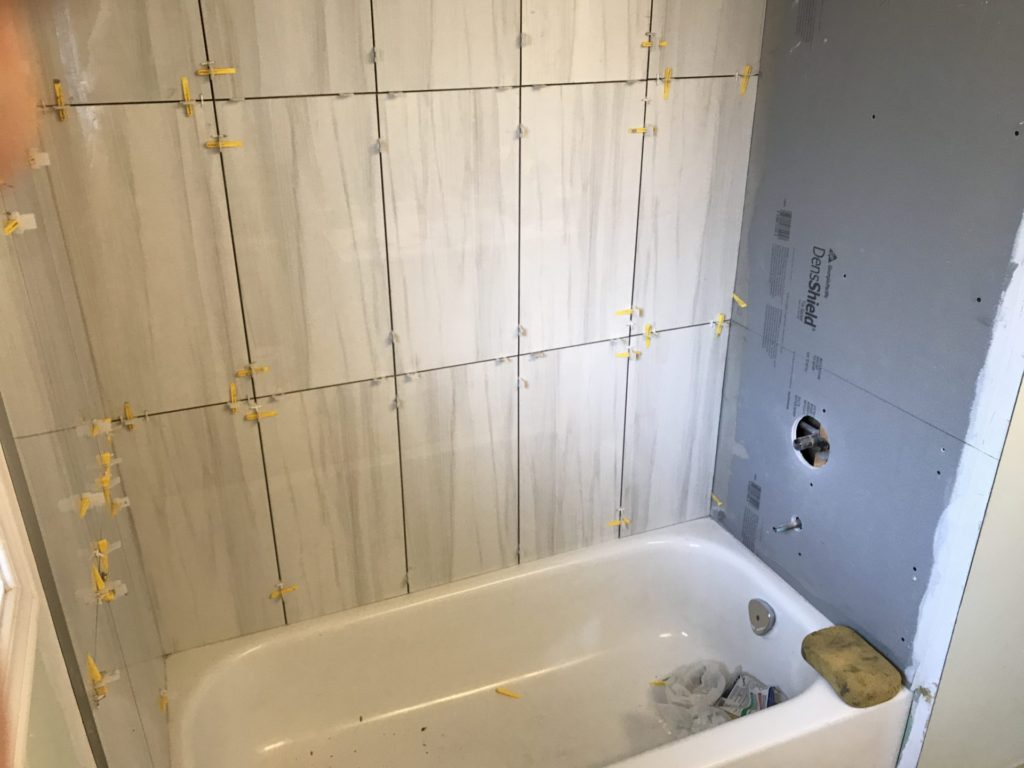
8. Time to measure, cut and install the DensShield gypsum wallboard. The installation of this product is very similar to hanging drywall.
9. Tape the seams of the DensShield wallboard with mesh tape and tile mortar. Also tape the seams where the new wallboard meets the ceiling and the drywall at the edge of the bathtub with plaster.
10. Depending on your choice of tile, figure out your layout and cut your tiles to suit.
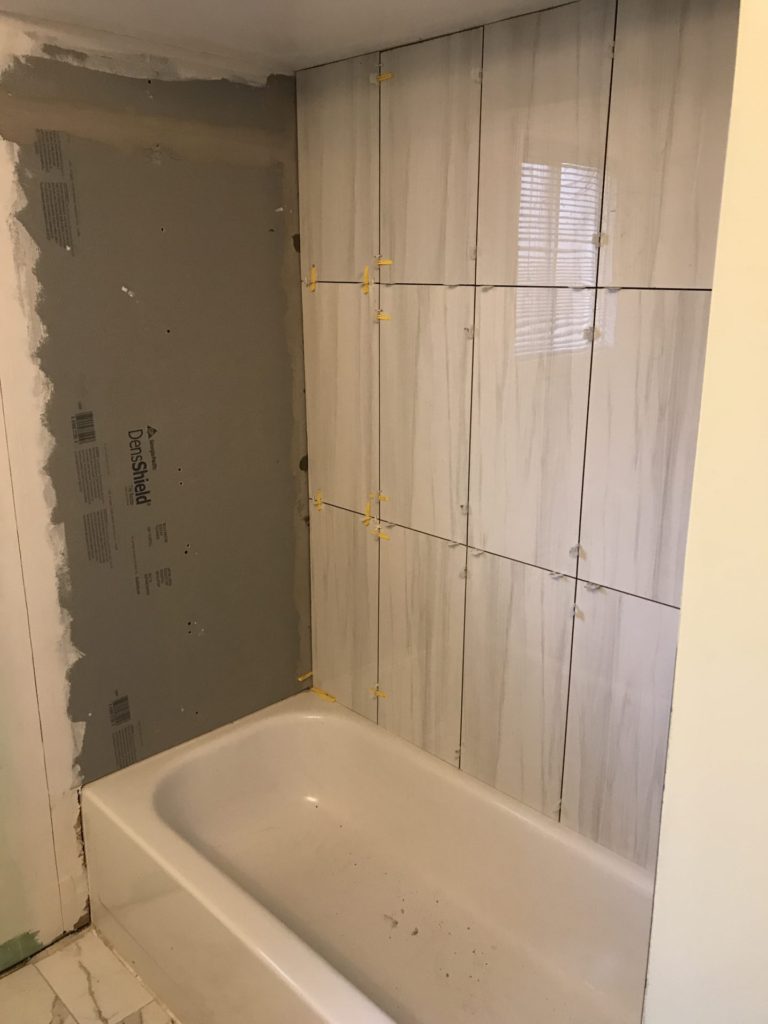
11. Mix up your tile mortar as per the instructions on the bag. Follow the label so that you get a good bond.
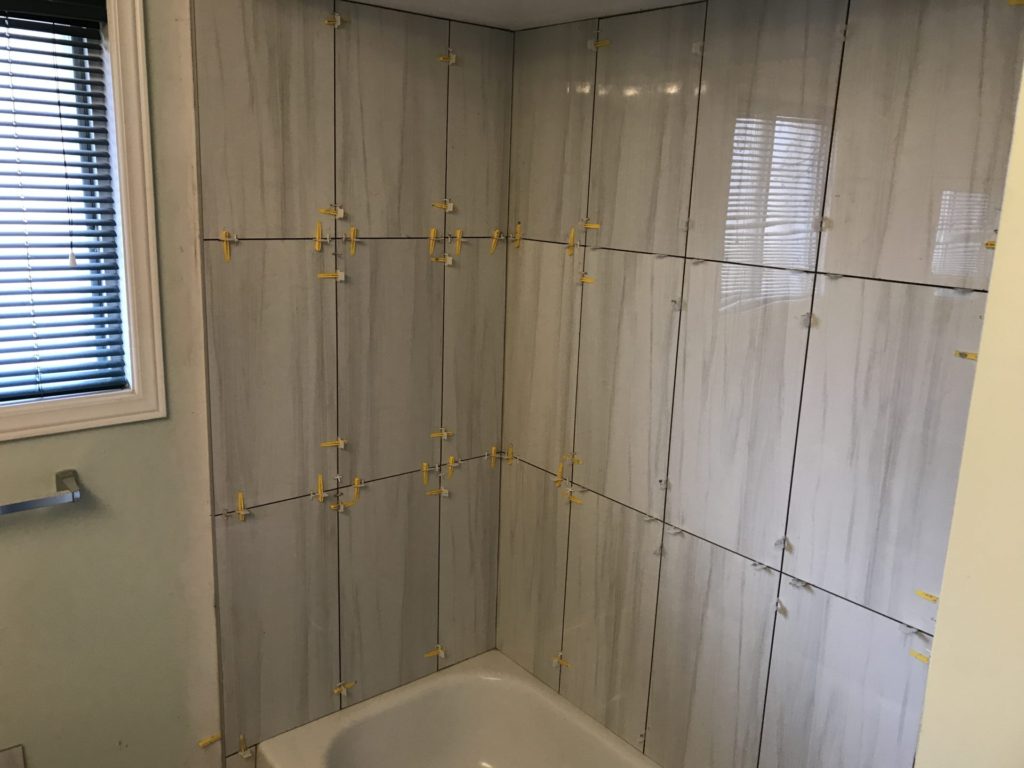
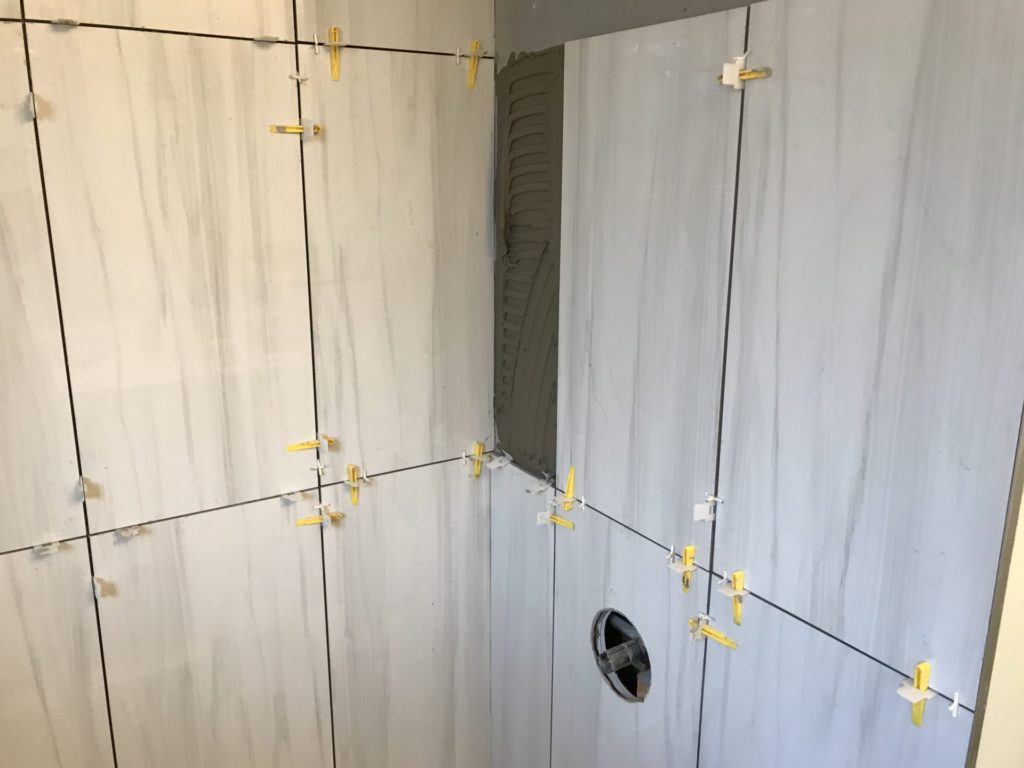
12. Apply the mortar with the square notched trowel and install the tile along with the leveling clips (applicable only for large format tile). You can install a metal edge trim to finish the tiles off nicely at the edge of the bathtub.
13. Let it set for 24hrs and then mix your grout as per the label on the box. Work the grout into the tile joints with a grout float and let it haze over a bit before you wash off the grout with a sponge.
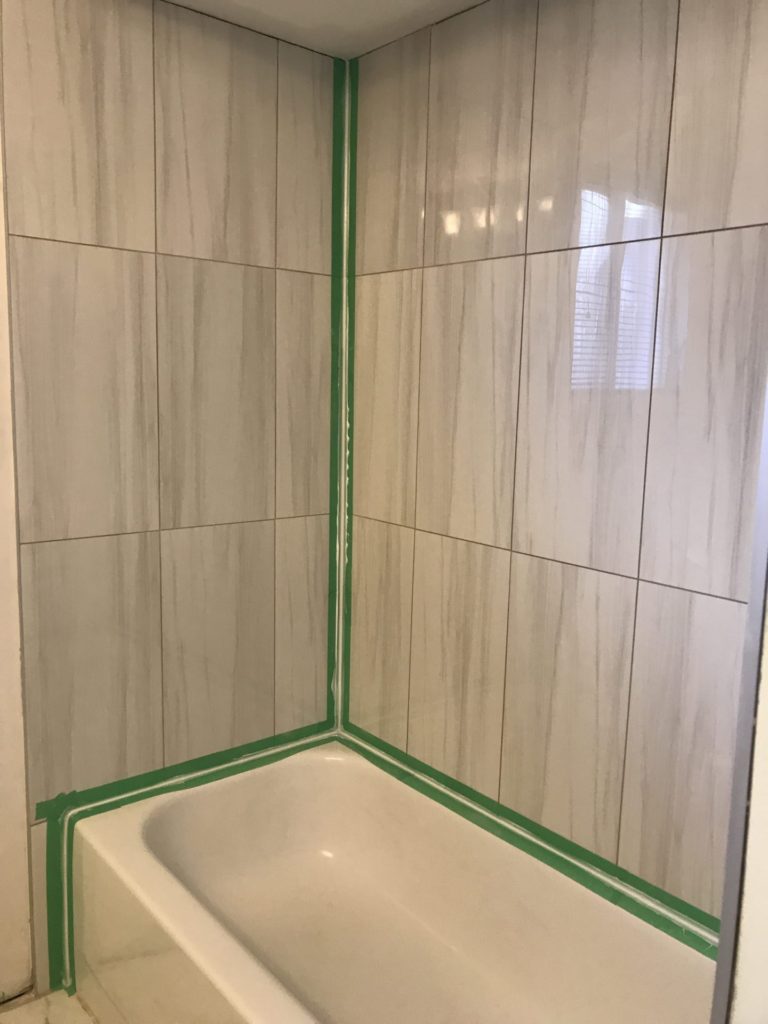
14. The last step is to apply bathroom silicone to any seams such as where the tiles meet the bathtub, inside corners and where the tiles meet the ceiling. Reinstall your shower faucet handle/cover, shower head and tub spout.
You are done! This project takes two full eight hour days to complete or spend two weekends to complete if you prefer to take your time.
how do I upgrade my shower on a budget?
The cost of the tiles – $2.50/sq. ft 80 sq. ft. $200.00
5 sheets DenShield – $23.00/each $115.00
Grout – $20.00
Mortar – 2 bags $16.00×2 =$32.00
mesh tape – $10.00 for a roll
tube of silicone – $10.00
box of dry wall screws – $10.00
Total Cost: $397.00
Is It Worth It To DIY Upgrade My Shower?
Compared to hiring a contractor charging around $2000.00 or more, we saved at least $1600.00 to complete this upgrade.
In summary, this is a great project to complete in the winter.
March 18, 2022
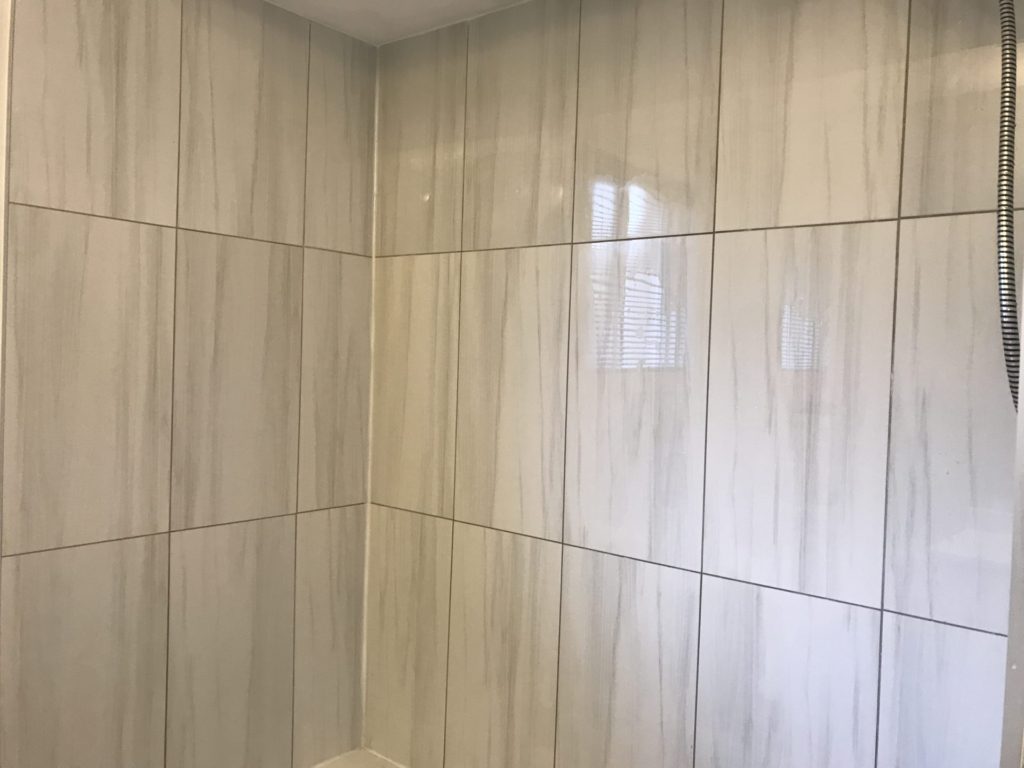
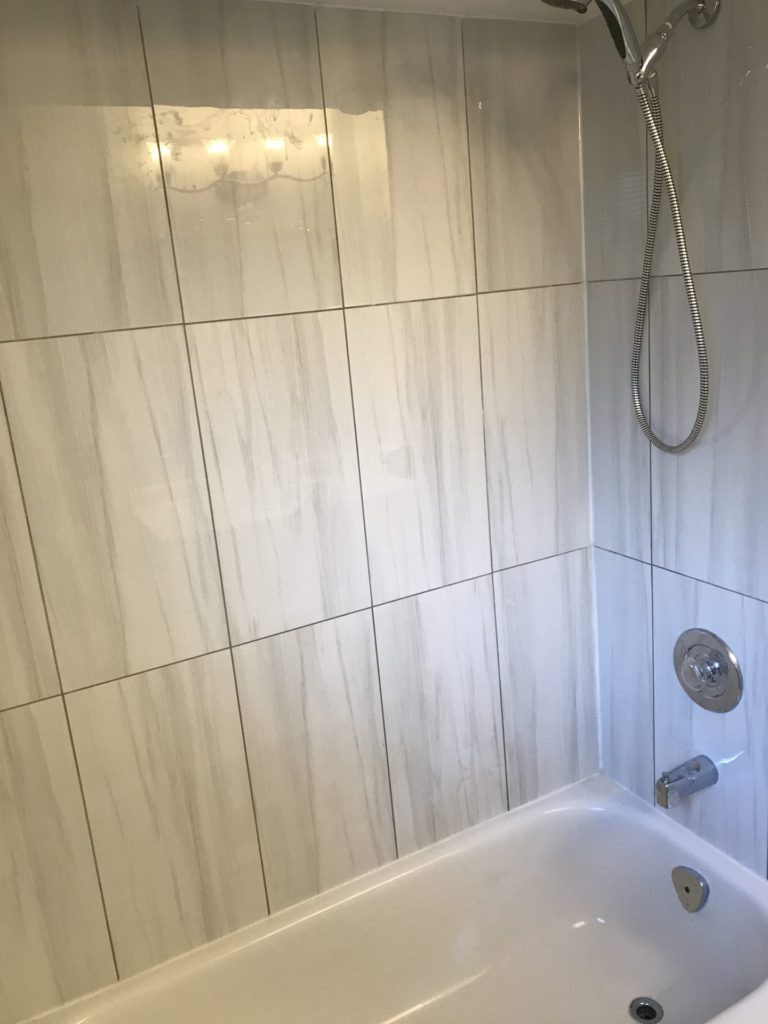
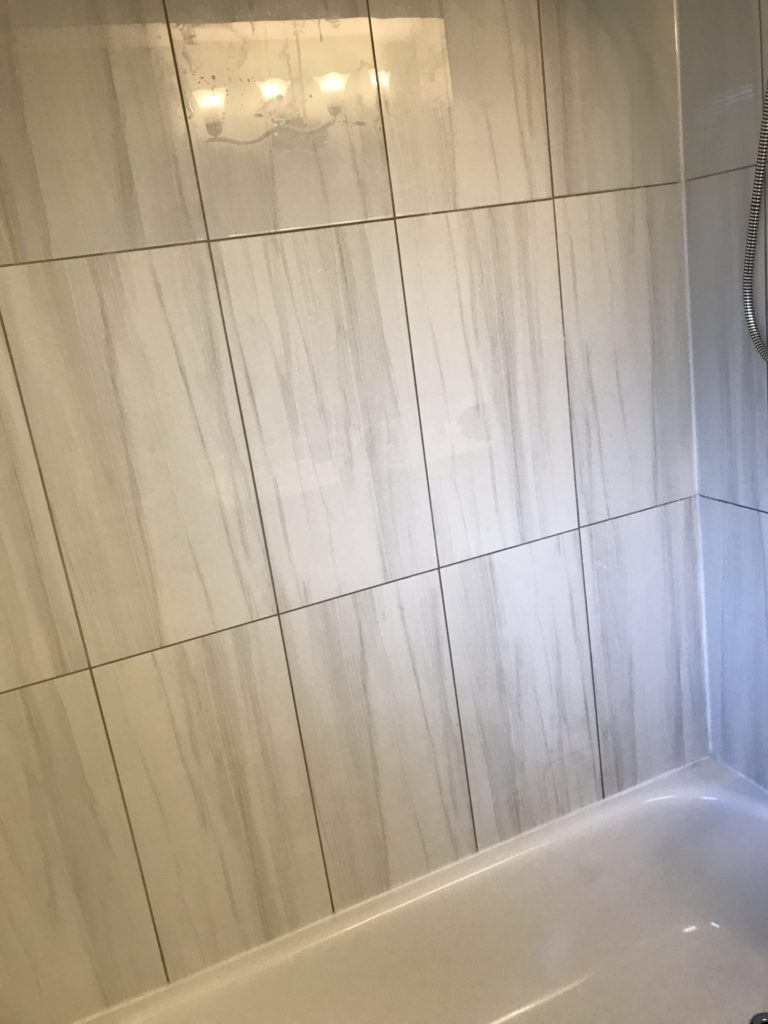
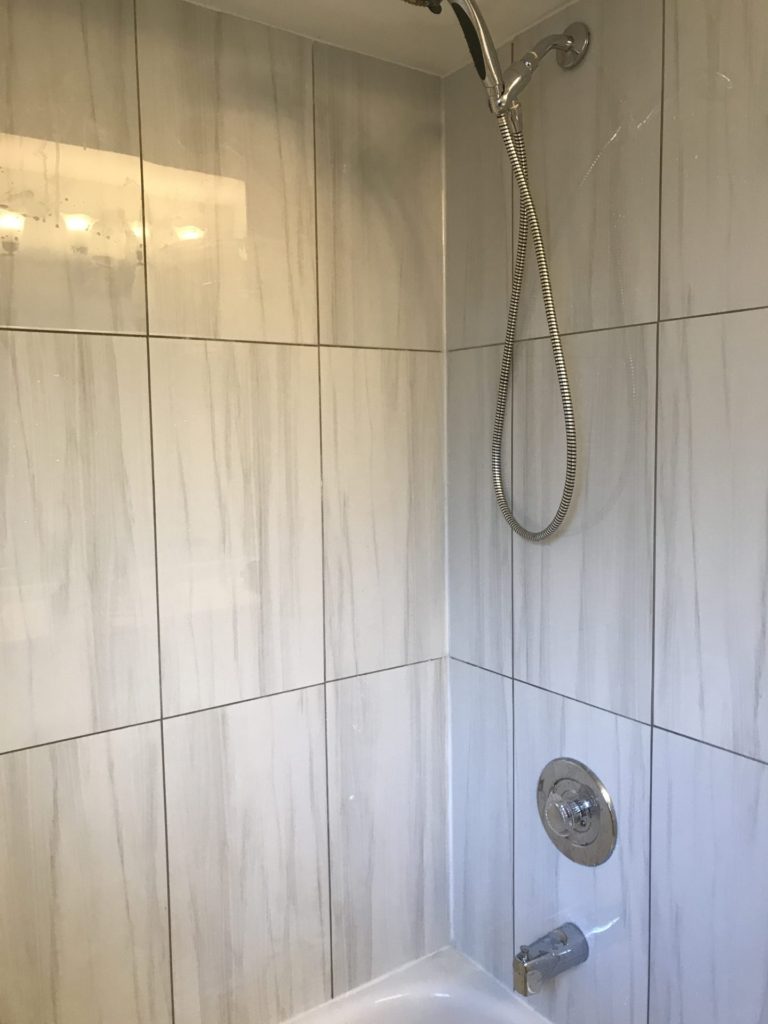
A few extra pictures below.

Great article! Thanks for sharing this.. Upgrading to porcelain tile is an excellent choice for a shower renovation project. Porcelain tile is a popular option for bathroom surfaces due to its durability, water resistance, and low maintenance. Porcelain tiles come in a variety of colors, styles, and textures, allowing for customization that can suit any design preference. The use of porcelain tiles can also enhance the overall aesthetic of a shower, giving it a modern and stylish look.
Hey Vancouver Bathroom Remodel,
Thank you for your comment and advice. The change to porcelain tiles was a very good decision. Our shower looks clean, new and modern. The cost to do this DIY upgrade was well worth it because the work looks professionally done at a fraction of the cost. Thank you for sharing your thoughts. Please check out my Home Reno blogs section to see what other DIY upgrades have been made. Take care.
Professional job.
I agree Elizabeth. Thank you for your support.