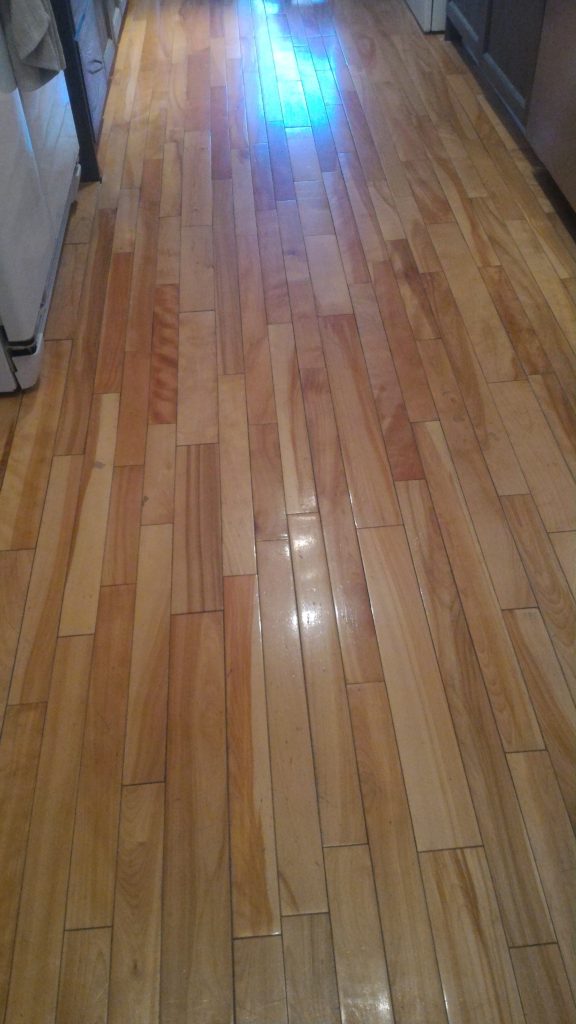
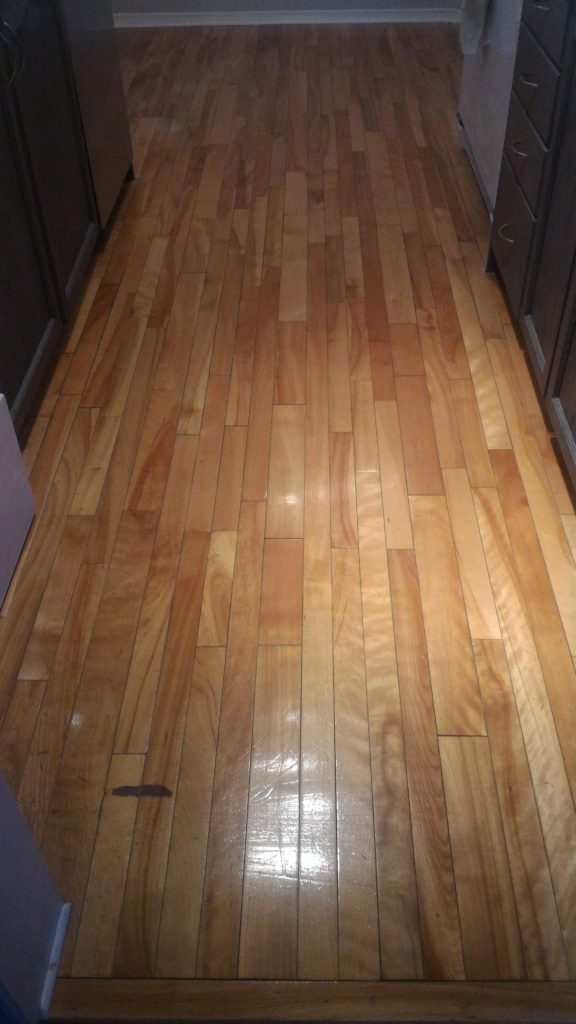

Upgrading Your Kitchen Floors
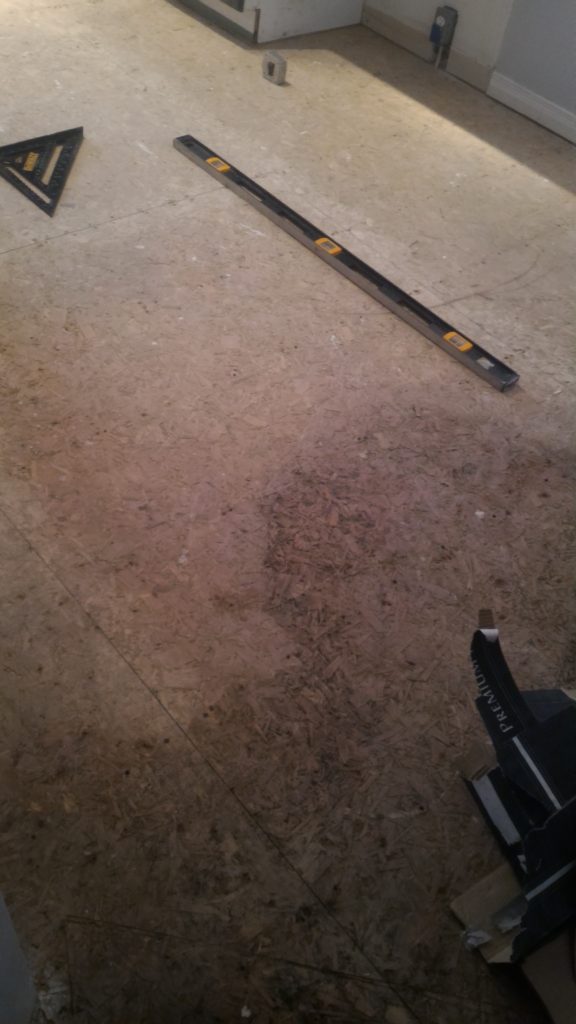

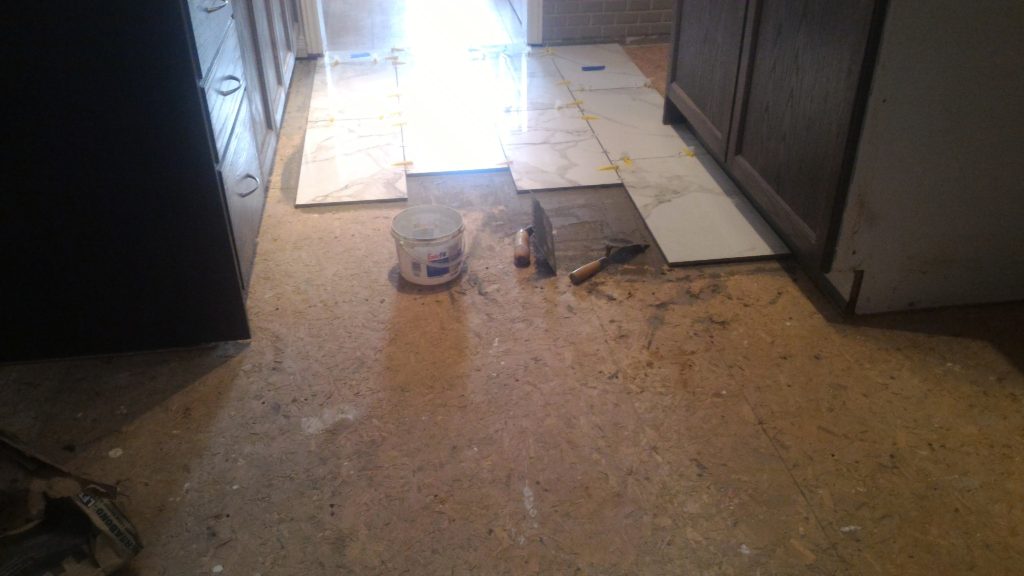
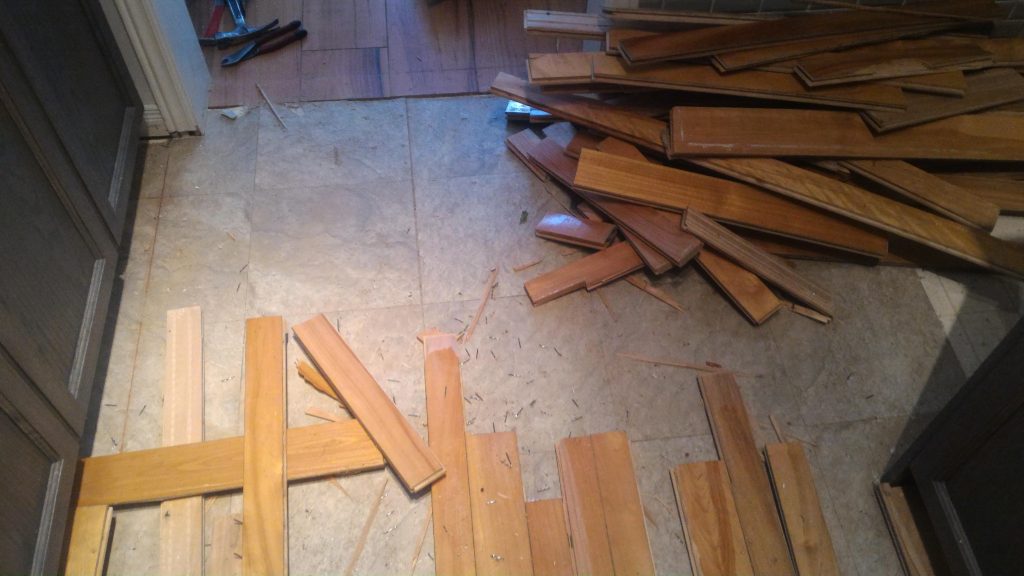
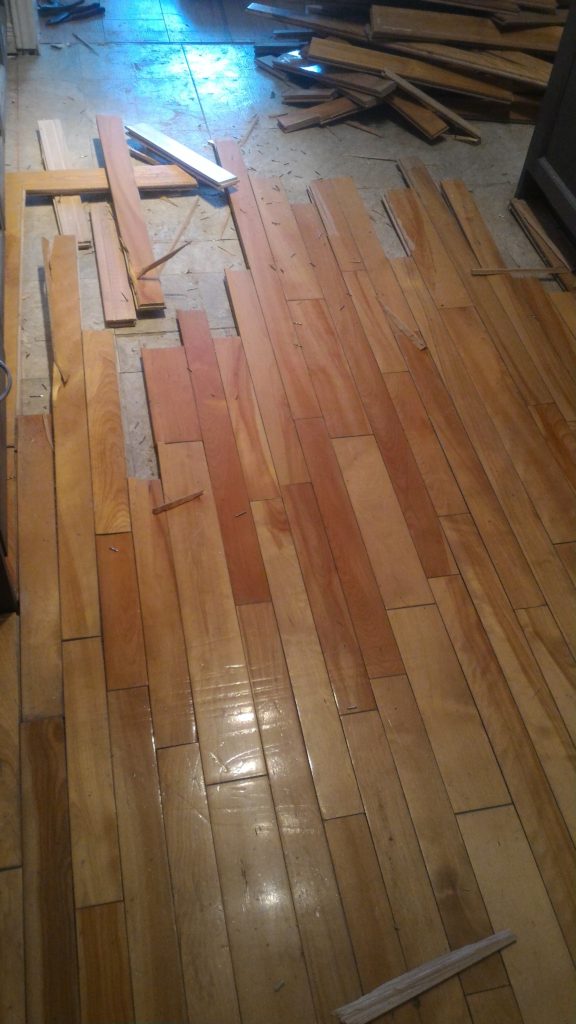
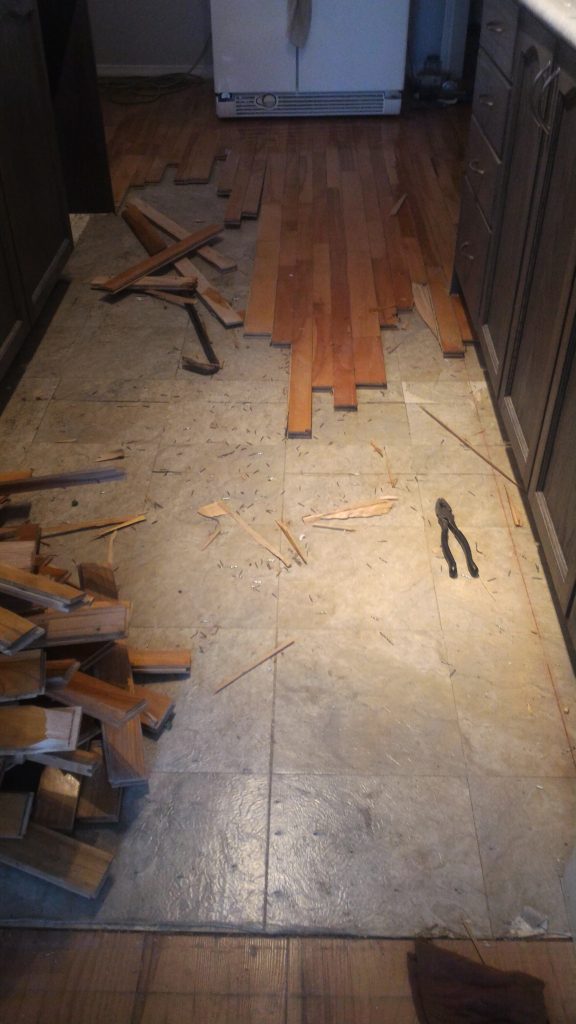
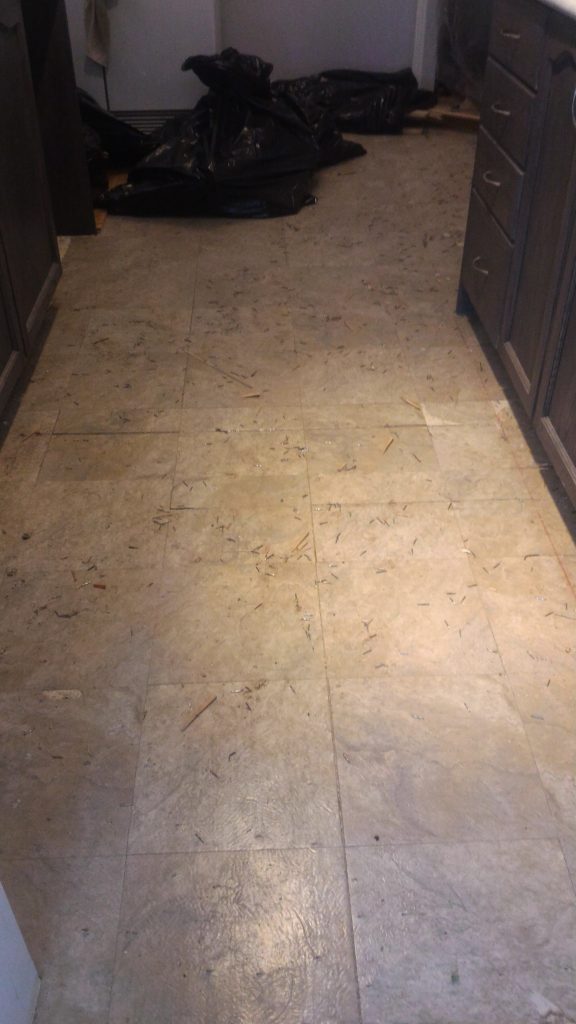
Now that the vinyl tiles are up, cut the floor with a circular saw. Cut grooves into the linoleum with a circular saw and remove the floor 2 ft by 2 ft. so that it is easier to remove everything in patches, rather than all together. It is a lot easier this way. Remove all the staples from the flooring using pliyers. Afterwards you are left with your sub floor. Screw this down with flooring screwing 1- 3/4 flooring screws every six to eight inches apart.
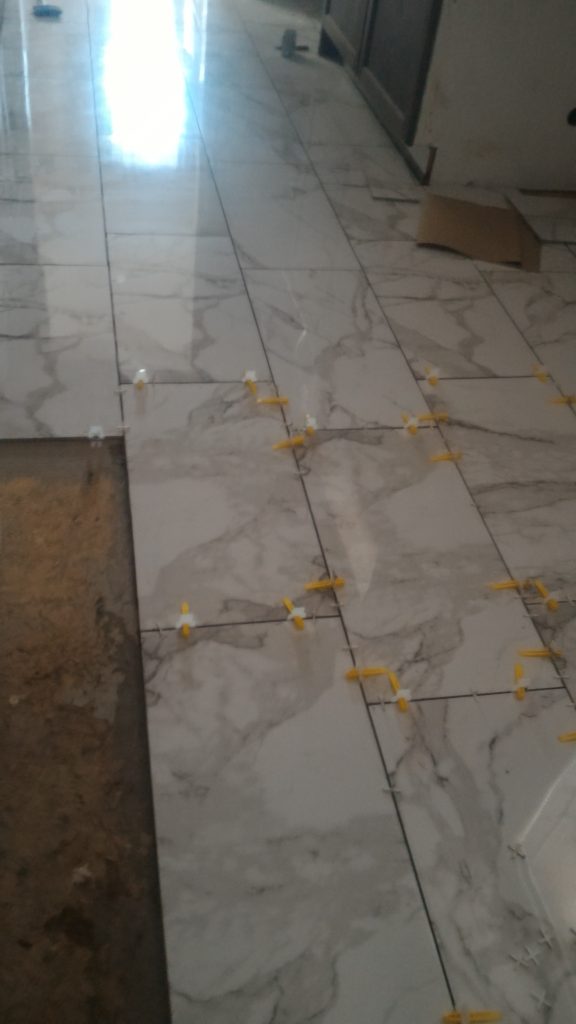
Your floor is prepared for the tiles to go on. Follow the instructions on the thinset mortar for how to mix it. Apply the mix to your floor with the square notched trowel. In our case, we used 12 by 24 tile. This is for a large format tile thinset. Put a thin coating on the back of the tile and set the tile. Lay it down according to the layout.
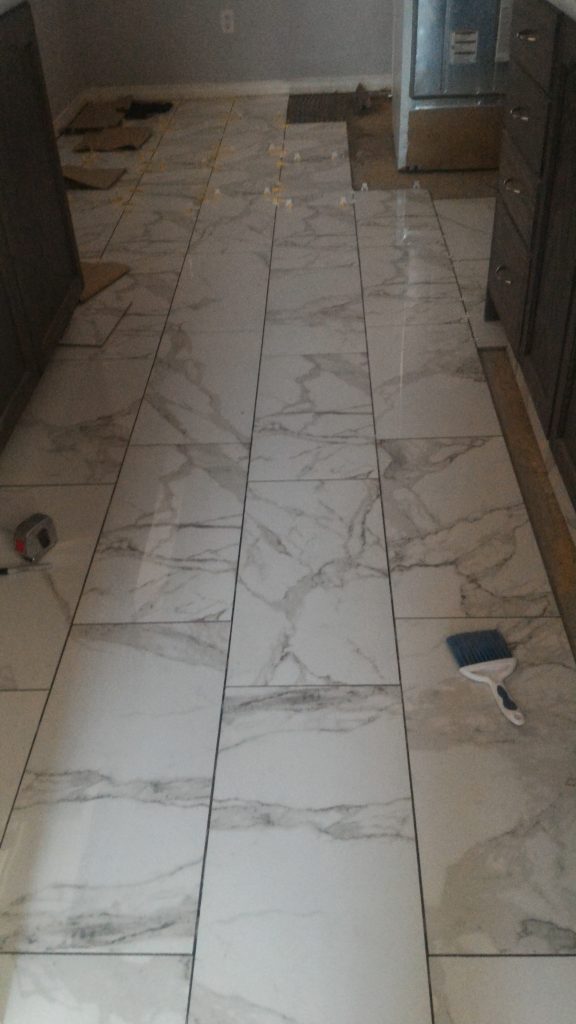
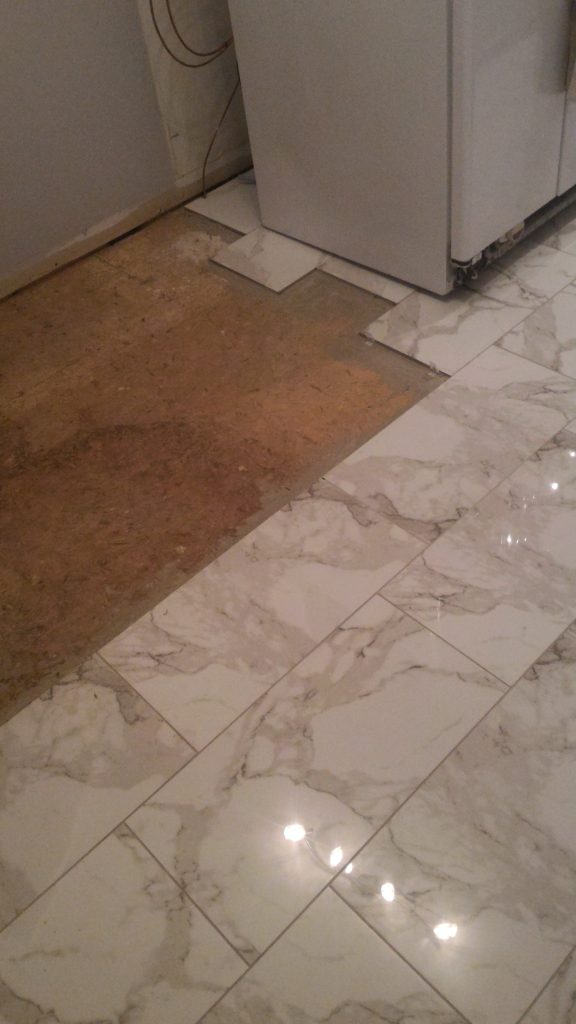
Do it one step at a time. Make sure that everything is even and the pattern of the tiles match throughout the floor. Use the levelling system to help you achieve an even surface. Let it is and dry for 24 hours.

The next day, remove the spacers and the levelling system. Clean out your joints. Mix your grout according to the instructions on your package. Apply the grout to the joints, forcing it in with a grout float. When it starts to haze over a little bit, go over it with a sponge and bucket of water. Work your grout lines so that they look nice with a sponge.
Wipe the floor of any residual grout.
Let it sit and dry for 24 hours. After that, you are done.
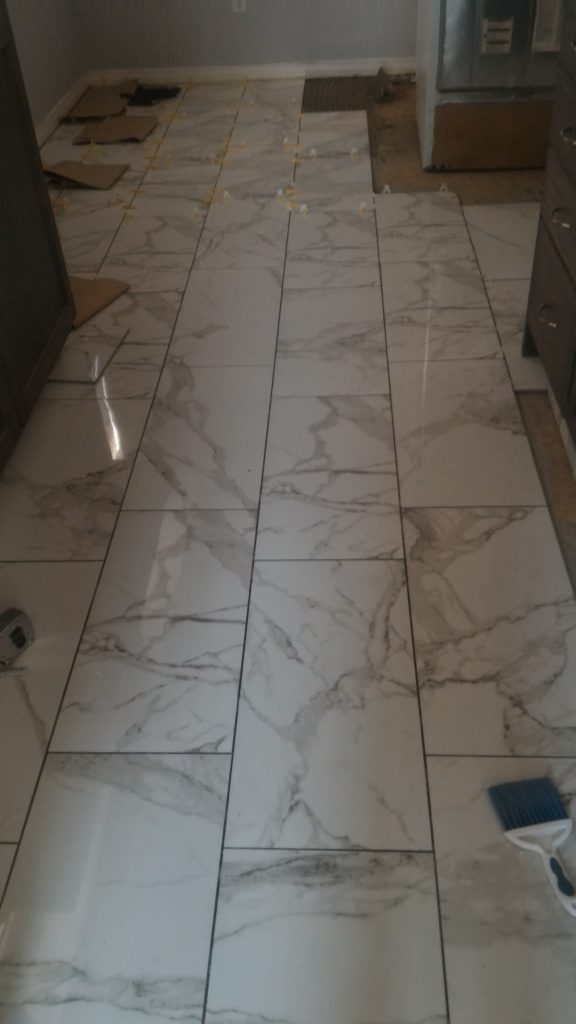
The results are amazing. There is no longer an annoying sound in the kitchen. You can spend time cooking with more peace. Additionally, it looks much better. Each cost effective upgrade in the kitchen is making the room look much better. To see other upgrades we made in the kitchen check out, Backsplash, Lighting and Valence Upgrades and DIY Countertop Refinishing Kit and Refinishing Your Kitchen Cabinets.
The total cost of this project is under $1000.00. This includes the changes made on the front foyer floors and powder room washroom.
Enjoy making upgrades in your home at a low price.
Please read up on upgrading your middle washroom floors and renovate your front foyer floors to see how far this project extends.
Related Topics:
Renovate Your Front Foyer Floors
Upgrading The Middle Washroom Floors